How to crochet a Corner to Corner (C2C) Basics
I first started crocheting when my son was 4 years old. He’s now 15! I was lucky enough to be a stay-at-home mom but what was I to do when he took his long 2-hour long naps?! I mean, one could only clean and do laundry so much. So, I decided to pick up a hobby, preferably a decent priced one.
I first started using a loom…let me tell you, my first beanie looked like a coin purse! But the more I tried the better I got, just like everything else in life. Don’t get me wrong, there were times I just wanted to throw away my tangled mess of yarn, but I had hopes of making beautiful things.
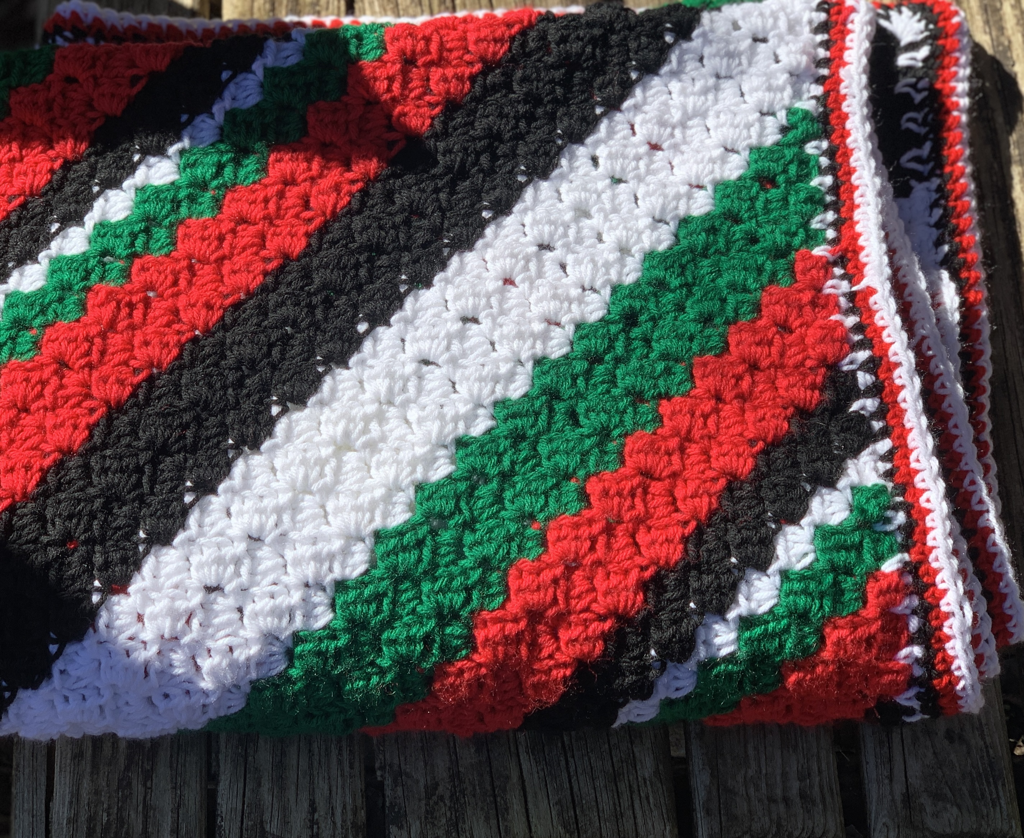
Months later and many skeins of tangled up yarn and broken stitch markers (I now use scrap pieces of yarn) I decided to try and make a blanket. I came across the Corner-to-Corner method and just fell in love with it. My very first blanket turned out pretty good considering it was my first attempt. Although it did take me a good while to figure out the “decreasing” and “increasing”. And now 10 years later I’ve made many Corner-to-Corner blankets. I’ve even made ones with letters, quotes and shapes such as hearts, skulls and stars. I actually made one last year for my boyfriend for Christmas (I make him one every year). This one had a skull on it (pictures below) and what’s even better is it’s my own pattern.
I’ve learned through many mistakes and many hours of how to create my own pattern and thanks to not giving up and this wonderful site called Stitch Fiddle I have been able to make amazing things using the C2C method (you can use this to make more than just blankets).
So, enough about that….here I’ll show you step by step on how to use the Corner to Corner (C2C) method.
I first started using a loom…let me tell you, my first beanie looked like a coin purse! But the more I tried the better I got, just like everything else in life. Don’t get me wrong, there were times I just wanted to throw away my tangled mess of yarn, but I had hopes of making beautiful things.
Months later and many skeins of tangled up yarn and broken stitch markers (I now use scrap pieces of yarn) I decided to try and make a blanket. I came across the Corner-to-Corner method and just fell in love with it. My very first blanket turned out pretty good considering it was my first attempt. Although it did take me a good while to figure out the “decreasing” and “increasing”. And now 10 years later I’ve made many Corner-to-Corner blankets. I’ve even made ones with letters, quotes and shapes such as hearts, skulls and stars. I actually made one last year for my boyfriend for Christmas (I make him one every year). This one had a skull on it (pictures below) and what’s even better is it’s my own pattern.
I’ve learned through many mistakes and many hours of how to create my own pattern and thanks to not giving up and this wonderful site called Stitch Fiddle I have been able to make amazing things using the C2C method (you can use this to make more than just blankets).
So, enough about that….here I’ll show you step by step on how to use the Corner to Corner (C2C) method.
The Corner-to-Corner is made by creating "blocks" or "squares", I call them blocks. All it consists of is chains of 6 and 3, double crochets and slip stitches.
Materials Needed:
- Acrylic yarn
- 6.00 mm hook (I love the Susan Bates hook which you can find on Amazon)
- Darting needle for sewing in loose ends
How to start your C2C
Step 1- Chain 6, double crochet in the 4th chain from your hook. The 3 chains that you skipped over will count as a double crochet from here on out. Double crochet in the next 2 chains. You will now have 4 double crochets. First block completed. (See Photo A) This is considered row 1.

Step 2- Chain 6 and turn your work. (See Photo B)
Step 3- Double crochet in the 4th chain from your hook and in the next 2 chains. (Remember the 3 chains skipped are counted as a double crochet. Second block made (See Photo C)
Steps 2-3 are considered row 2.
In each row you will be adding one block. So, if your project has 50 rows you will have 50 blocks before you start you decreasing. Once you start decreasing you will be taking away one block from each row.

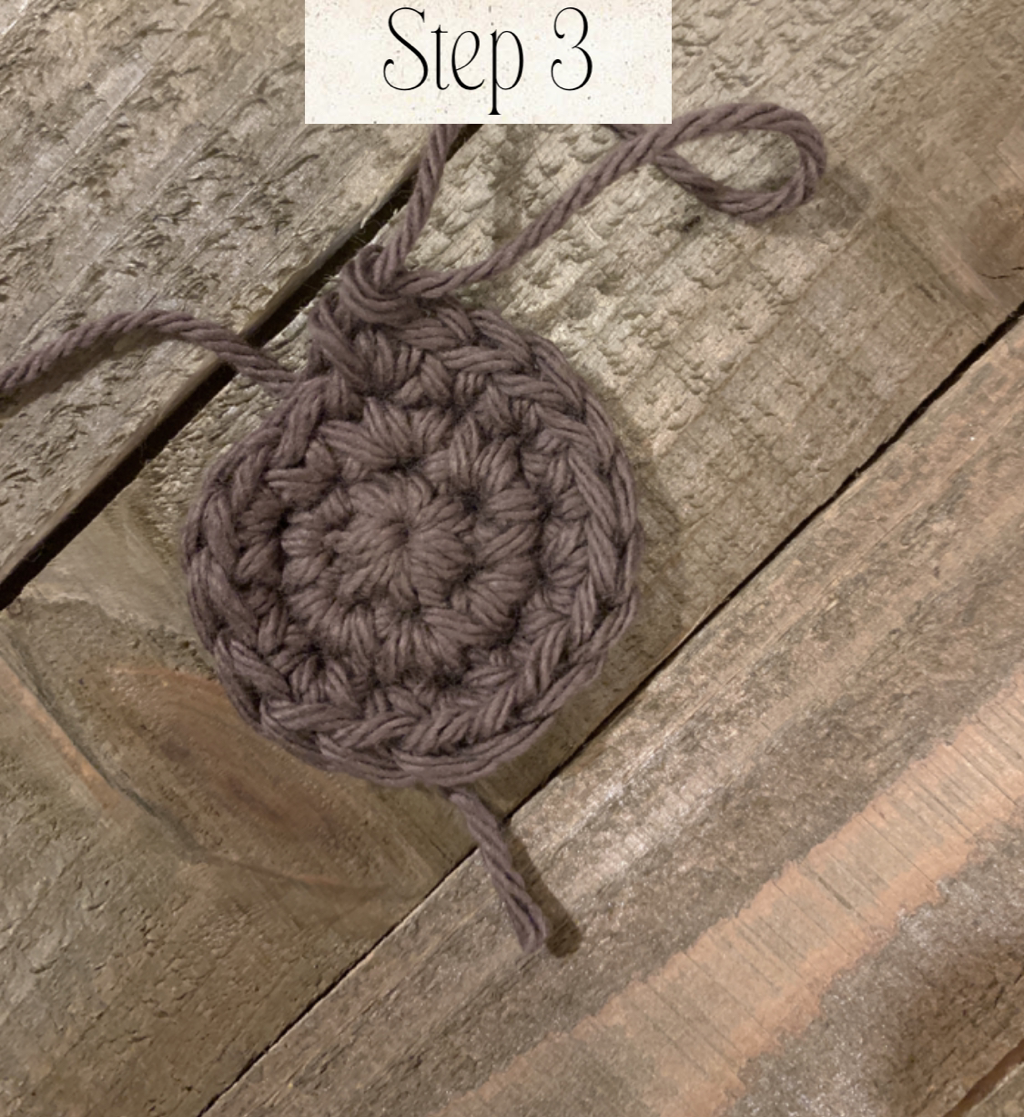
Step 4- Skip the next 3 double crochets (the double crochets you made for your first block) and slip stitch between the last 2 double crochets (the 3rd and 4th double crochet). (See Photo D and E)

Step 5- Chain 3, counts as a double crochet. (See Photo F)
Step 6- Put 3 double crochets in the same space as the slip stitch. 3 blocks made. Steps 4-6 are considered row 3. (See Photo G)
Step 6- Put 3 double crochets in the same space as the slip stitch. 3 blocks made. Steps 4-6 are considered row 3. (See Photo G)

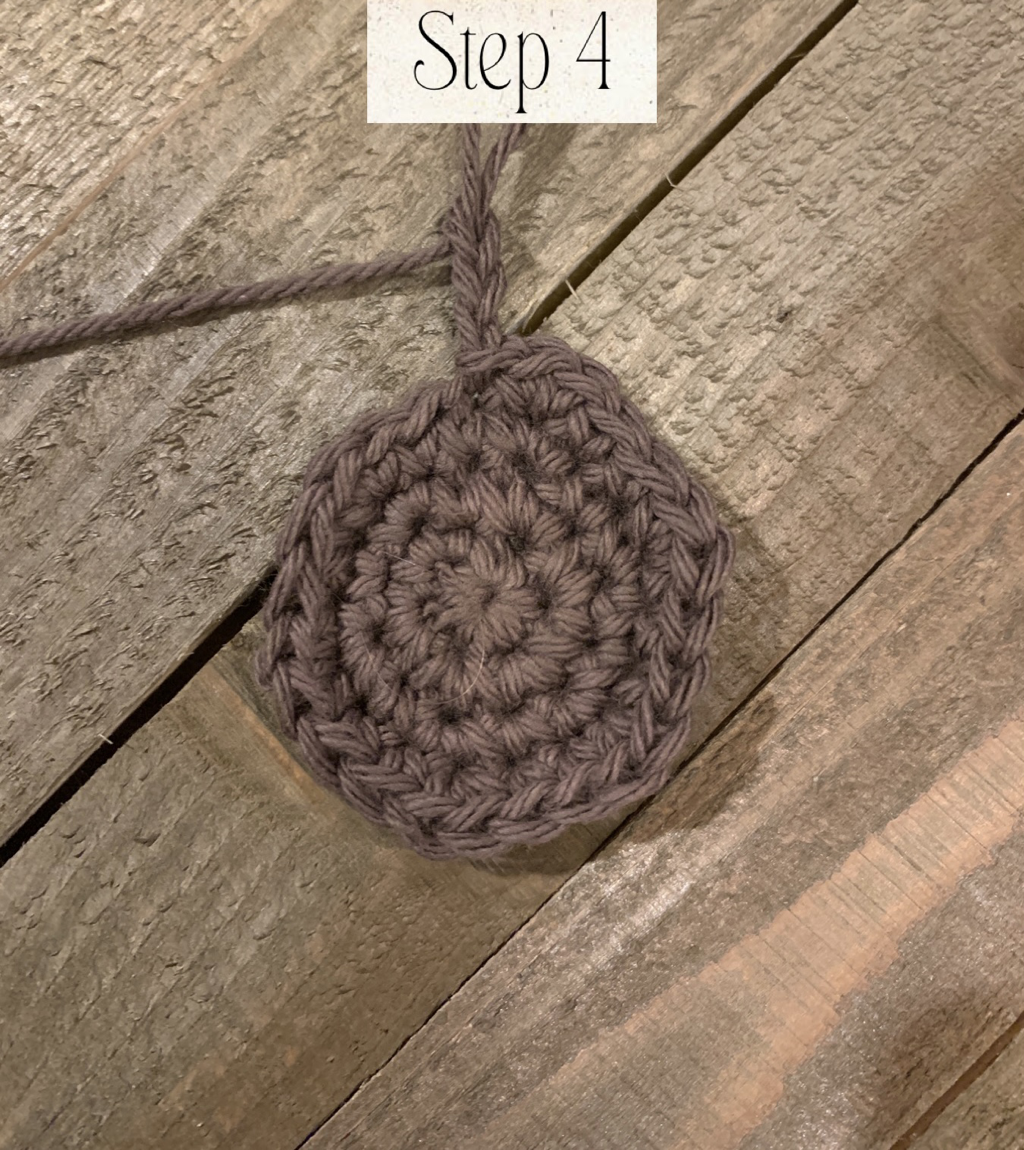
Step 7- Chain 6 and turn your work. Double crochet in the 4th chain from the hook and in the next 2 chains. (See Photo H)
Step 8- Skip 3 doubles and slip stitch between the 3rd and 4th double crochet (See Photo I)
Step 9- Chain 3, place 3 double crochets in the same space as the slip stitch. One block made. (See Photo J and K)
Repeat steps 8 and 9 until you've reached the last block on this row.
Steps 7-9 are considered row 4

Steps 8 and 9 are pictured below

Remember you will be adding a block to each row. Continue making blocks until you have reached your desired width. I completed 6 rows, giving me 6 blocks at the end of this row. Remember, row 1 has 1 block, row 2 has 2 blocks, row 3 has 3 blocks and so on. Now I will be moving onto row 7, which I will be decreasing.
Once you have reached your desired width you start decreasing. Photos below is an example of how to start decreasing.
Once you have reached your desired width you start decreasing. Photos below is an example of how to start decreasing.
Recap on how to make a block
At the start of each row you will
- Chain 6, dc in 4th chain from the hook and in the next 2 chains (4 dc made)
- Skip 3 double crochets and slip stitch between the 3rd and 4th double crochet
- Chain 3, place 3 double crochets in the same space as the slip stitch
How to decrease
Step 1- Chain 1 and turn your work (See Photo Above)
Step 2- Skip your chain 1 and slip stitch in the next 3 double crochets. Slip stitch into the space between the last 2 double crochets (See Photo L) First decrease made. Now continue making blocks in each block from the previous row even in the last block (this is your length side)
This would be considered row 7
Step 3- (row 8) Continue making blocks as you normally would, starting with your chain 6, turn, dc in the 4th chain from the hook and in the next 2, slip stitch in the space between the 3rd and 4th double crochet, ***skip 3 double crochets and slip stitch between the 3rd and 4th double crochet, chain 3, 3 more double crochets in the same space as the slip stitch.*** Repeat between the *** until you have reached the end of this row, you will have reached your decrease side. Do not add a block at the end of your decrease rows.
Continue alternating your regular rows and your decrease rows until you have reached your desired length. Once you have reached your desired length you decrease at the end of EACH row until you have 1 block left.
See Photo M for what it should look like after your first decrease row
See Photo O and P for what it will look like after you have completed your first decrease row, regular row and how to start your second decrease row


You have now completed your second decrease row.
Continue adding blocks on the length side and decreasing at the end of the width side. What helps me keep track is if my decreasing starts on an even number row then my decreases will always be on an even number row, same thing if it starts on an odd number row.
Continue adding blocks on the length side and decreasing at the end of the width side. What helps me keep track is if my decreasing starts on an even number row then my decreases will always be on an even number row, same thing if it starts on an odd number row.


Once you have finished all your decreases complete the normal decrease steps (chain 1, slip stitch until you've reached the space between the 3rd and 4th double crochet and cut off your yarn.