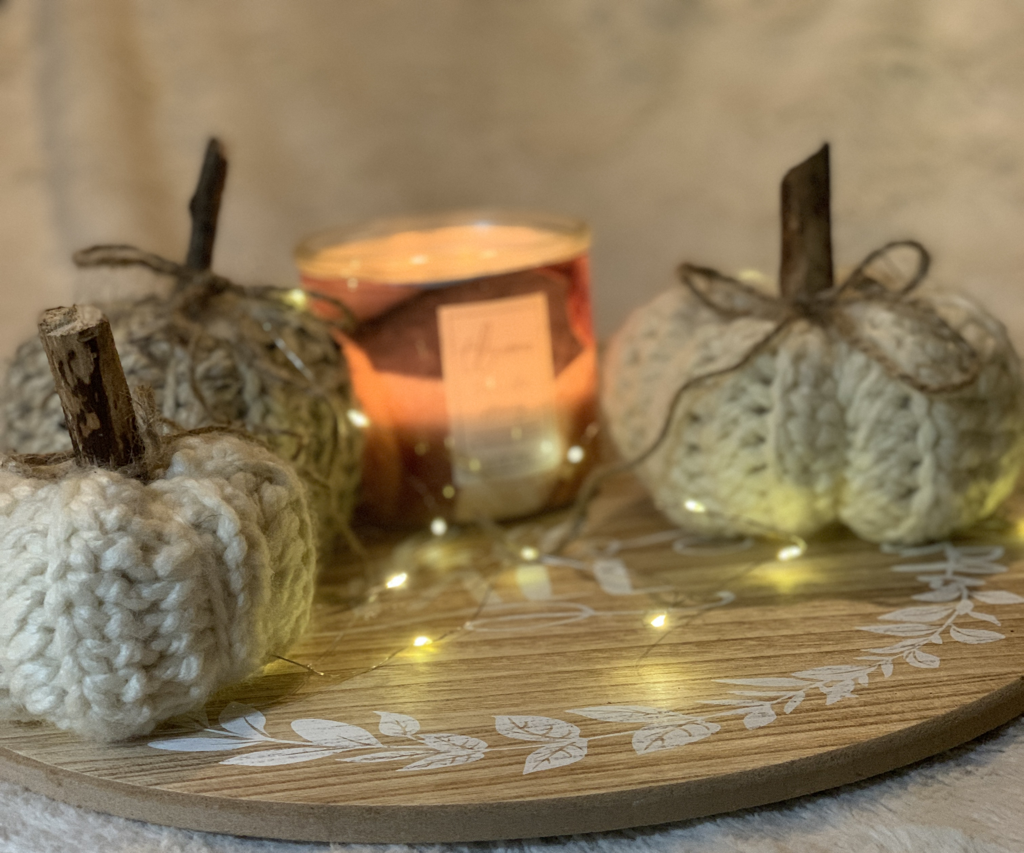
Crochet Ribbed Pumpkin Pattern
What you’ll need:
- 5 mm hook
- Bulky yarn (either #5 or #6 bulky)
- Polyfil to stuff
- Darting needle
- Scissors
- Hot Glue Gun
- Hot Glue Stitcks
- 2 Ply Jute Cord
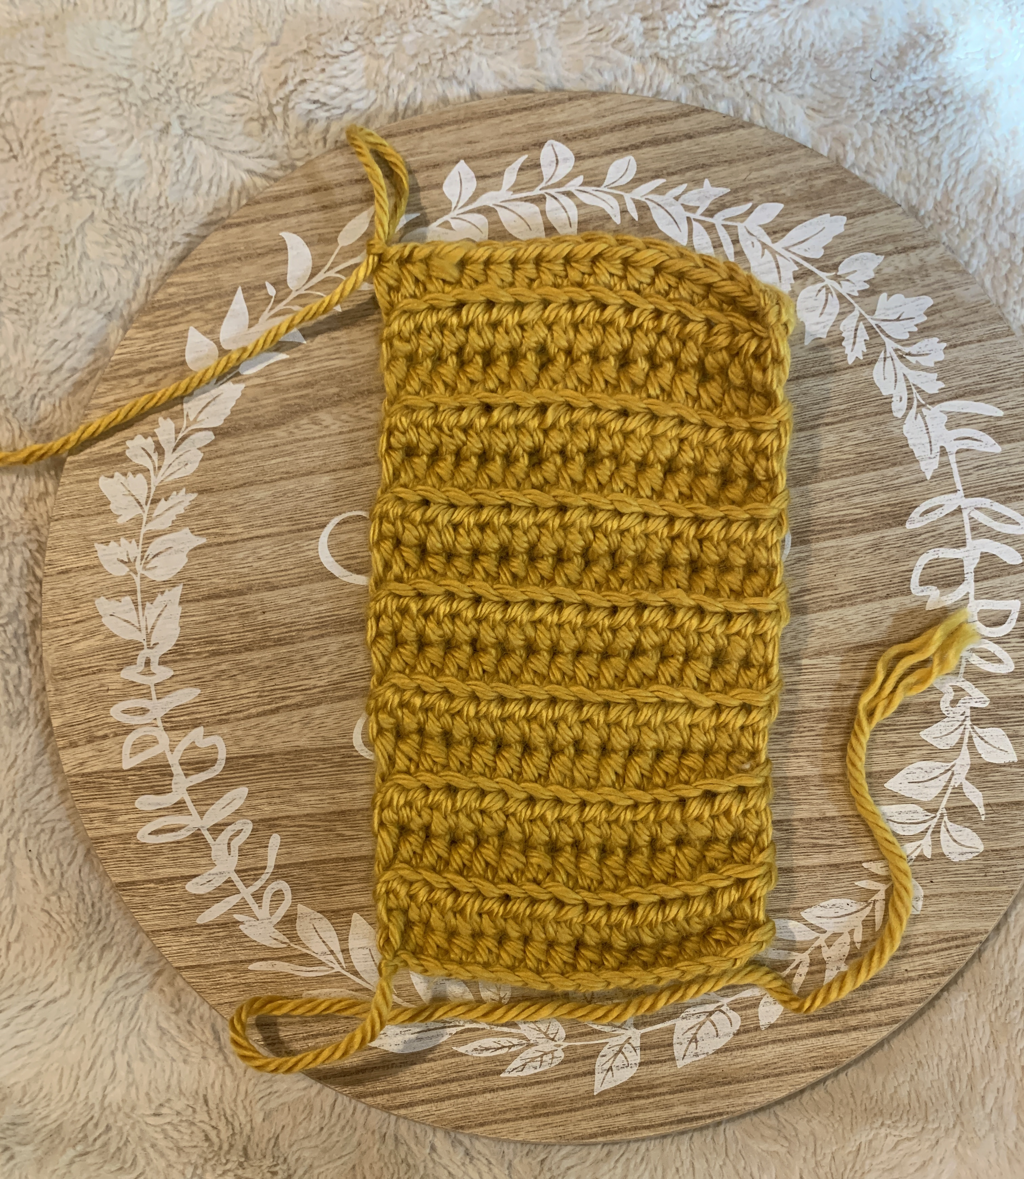
1. Chain 16, hdc in the second chain from hook and in remaining chains. Chain 1, turn. (15 hdc) Make sure to start with a long tail for sewing up the bottom later.
2. Hdc in each stitch in the back loops only. Chain 1, turn. (15 hdc)
Repeat row 2 until you have a total of 15 rows. I’ve made a few with a total of 17 rows as well.
2. Hdc in each stitch in the back loops only. Chain 1, turn. (15 hdc)
Repeat row 2 until you have a total of 15 rows. I’ve made a few with a total of 17 rows as well.
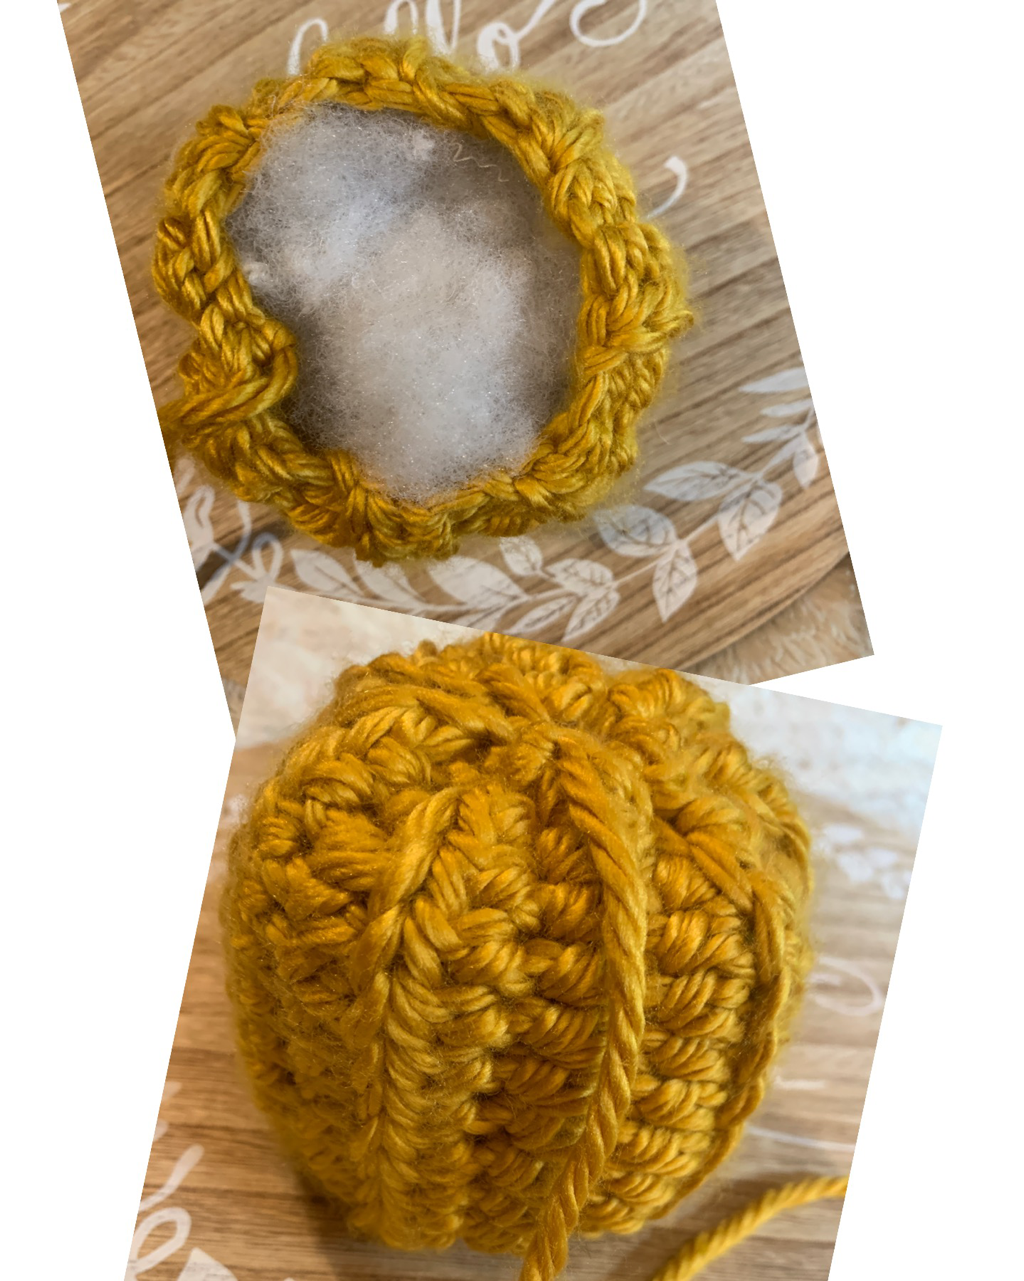
Fold in half and slip stitch the ends together. Cut off yarn leaving a long tail for sewing the top and adding the “bumps” to the pumpkin.
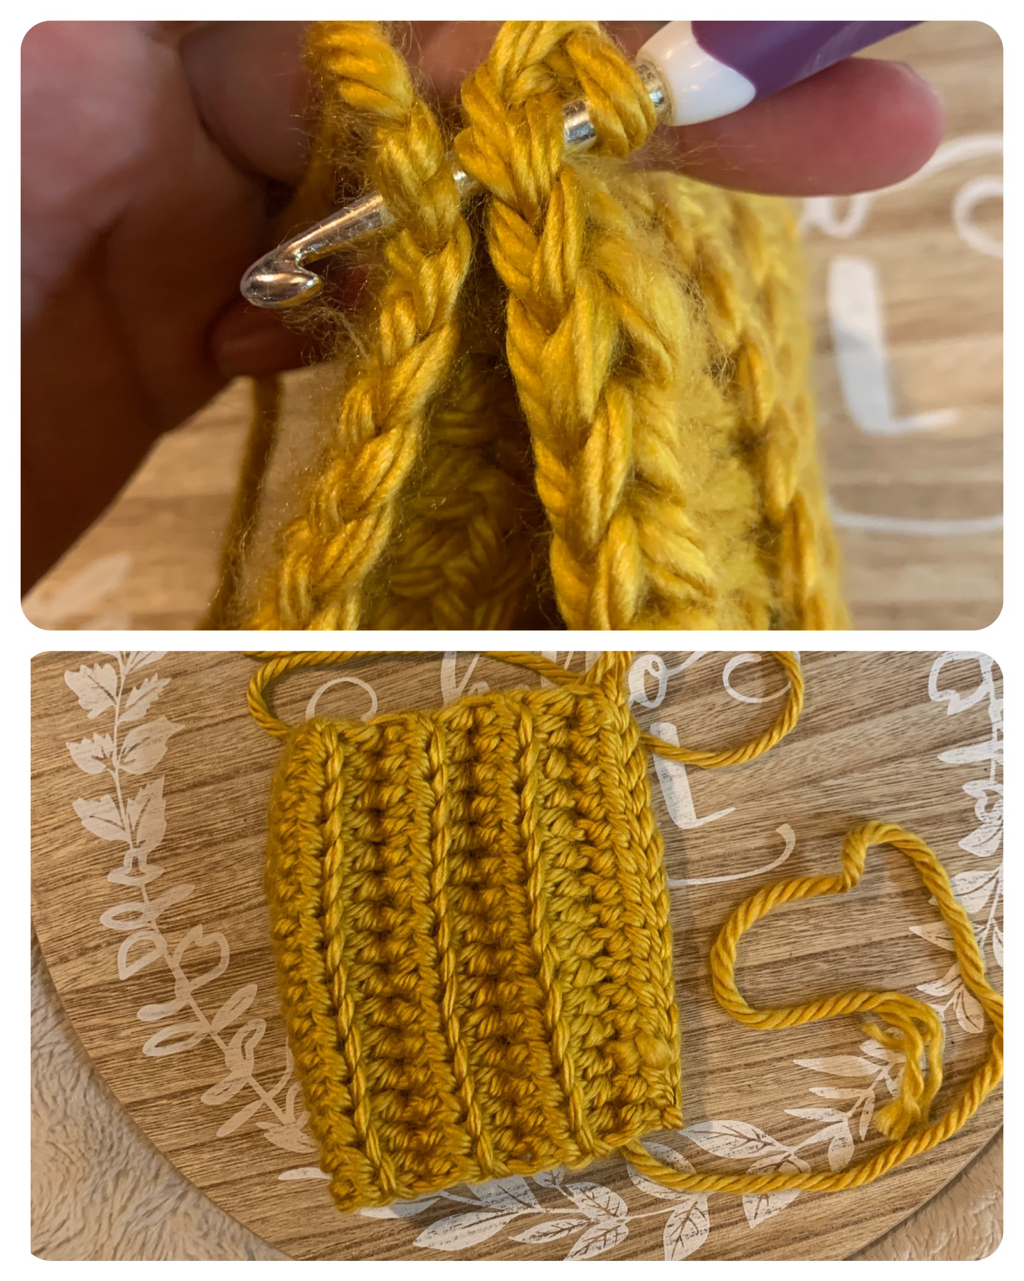
Thread the tail from the starting chain and close up the bottom. Fold right side out.
Lightly stuff your pumpkin and close up the top.
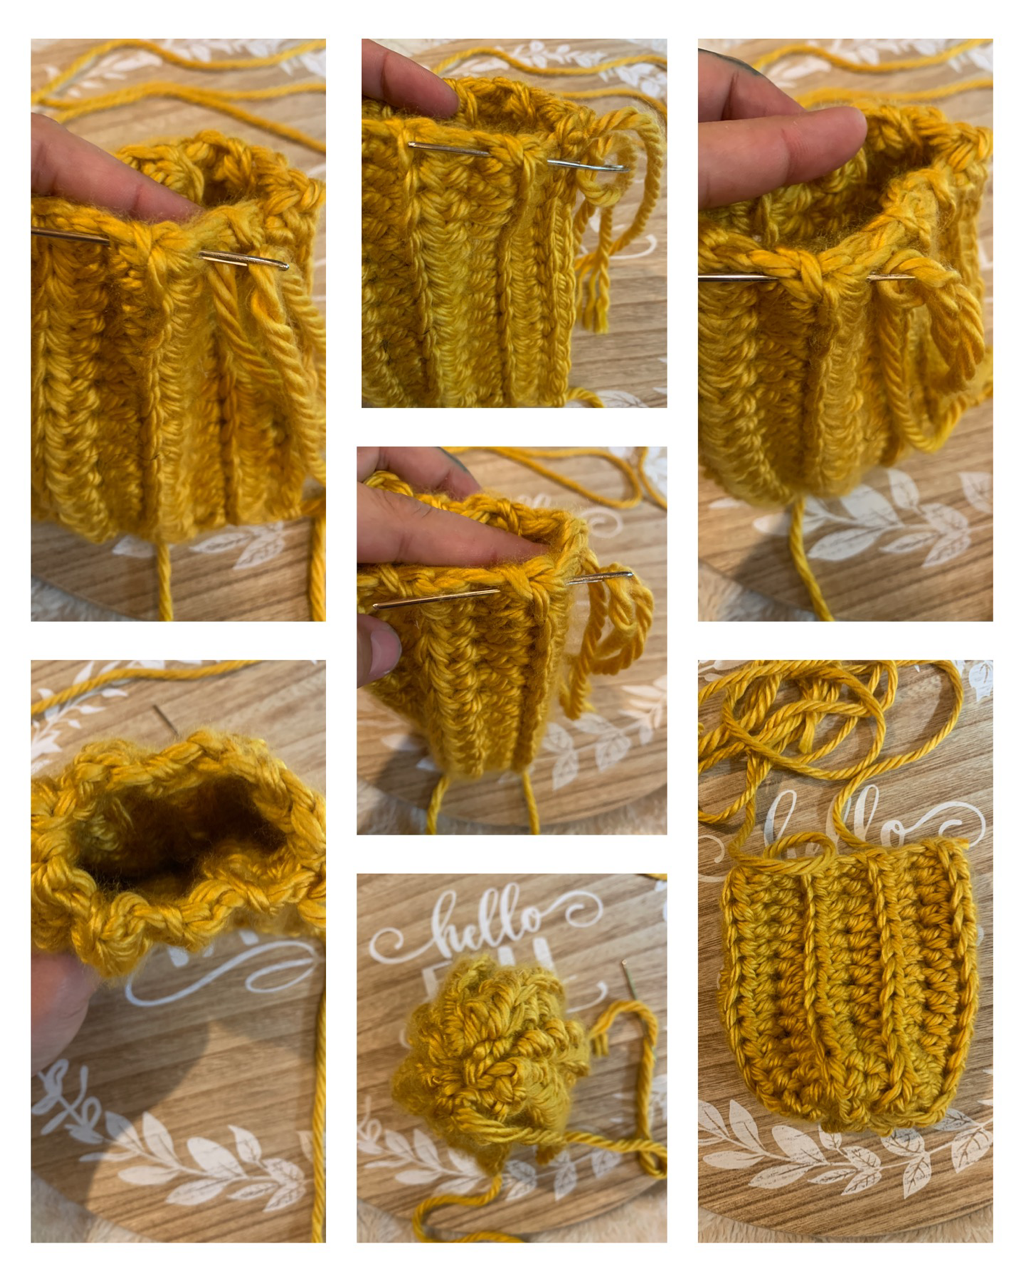
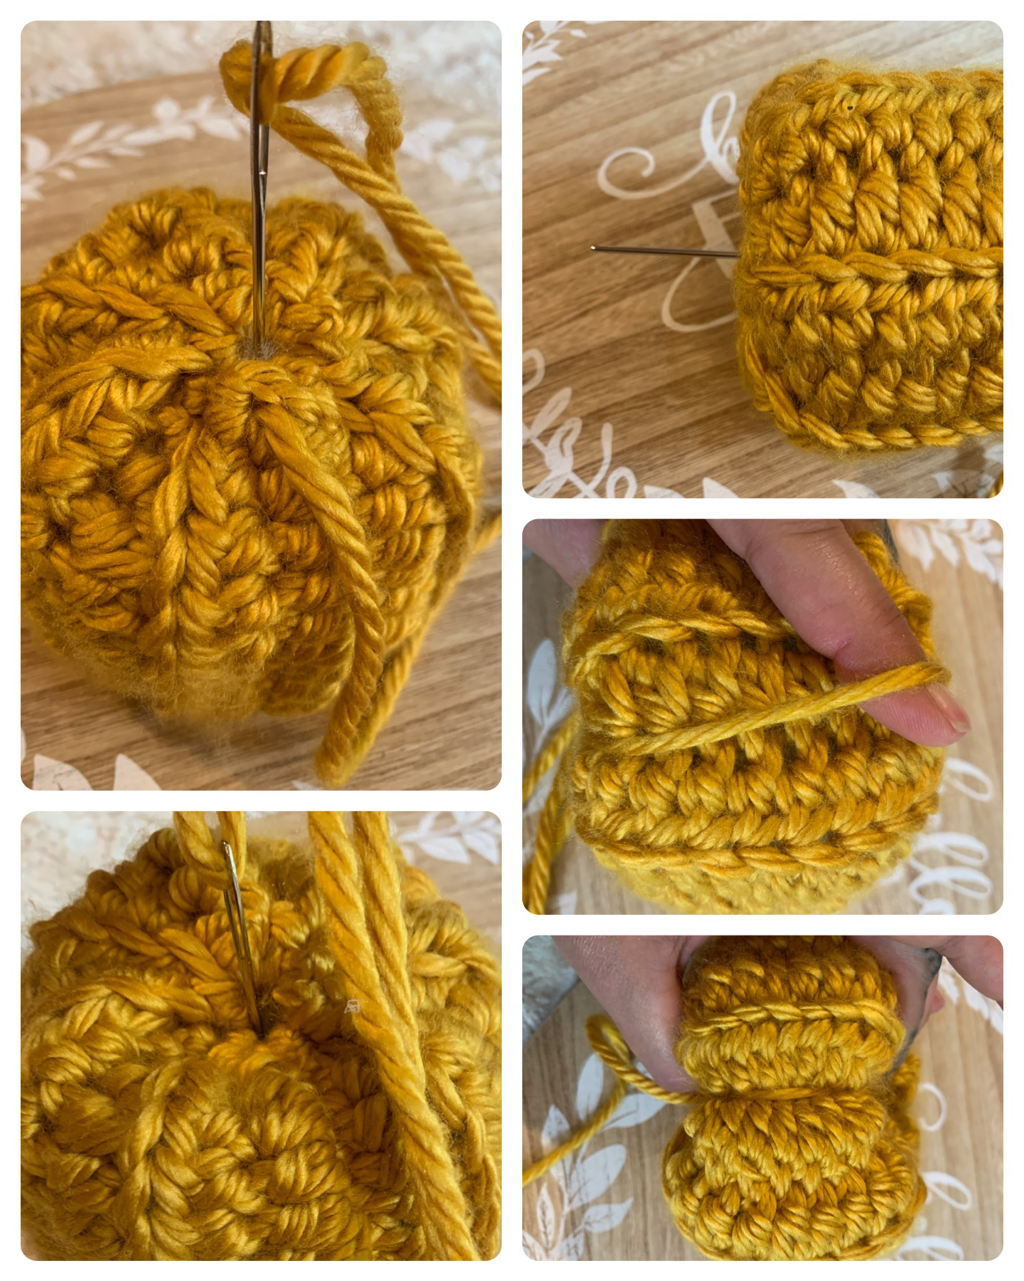
Insert your needle in the middle of the top of the pumpkin and bring it through the bottom.
Insert the needle back into the top of the middle of the pumpkin then bring it through the bottom again. Repeat this process a few more times until you’ve obtained your desired look. When pulling through make sure you’re pulling it tightly to create the bumps.
I make sure my tail is placed between the ribbed section of the pumpkin.
Hot glue your stick to the center of the top of the pumpkin. Tie a bow around the stick and viola! You have now created a cute little pumpkin.
