—Mason the Turtle—Crochet Lid Cover Pattern

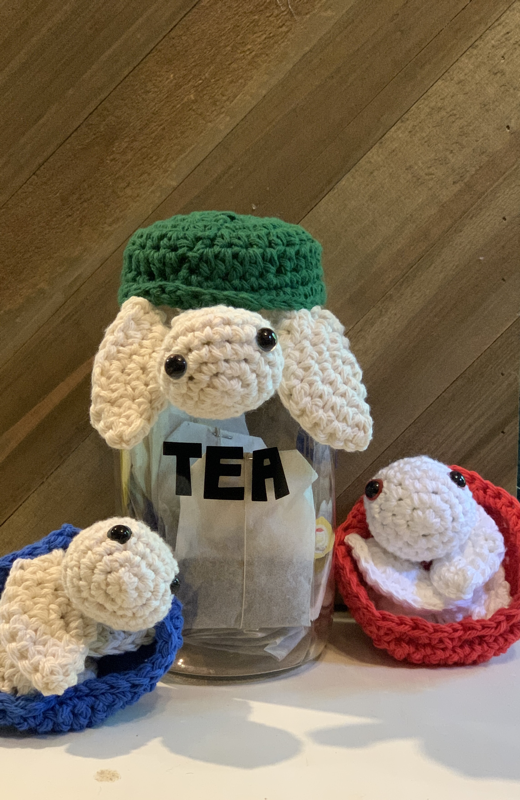
This cute little guy, let’s call him Mason (for the mason jar, get it?! Haha) was suppose to be a coaster but as some things in life (and in crochet) it didn’t go as planned. So I turned Mason into a lid cover. Happy crocheting!!
What you’ll need:
**We will be working in the round for the legs. Meaning we will NOT join, instead we will continue onto to the next round**
I suggest making the legs, tail and head before the body.
Stitches used:
- 4.50 mm hook (for the legs and the body)
- 3.75 mm hook (for the head)
- cotton yarn (4 ply) in 2 colors
- safety eyes
- darting needle
- scissors
**We will be working in the round for the legs. Meaning we will NOT join, instead we will continue onto to the next round**
I suggest making the legs, tail and head before the body.
Stitches used:
- sc- single crochet
- sc inc- single crochet increase (placing 2 single crochets in the same stitch)
- ss-slip stitch
- hdc- half double crochet
Legs (make 4)
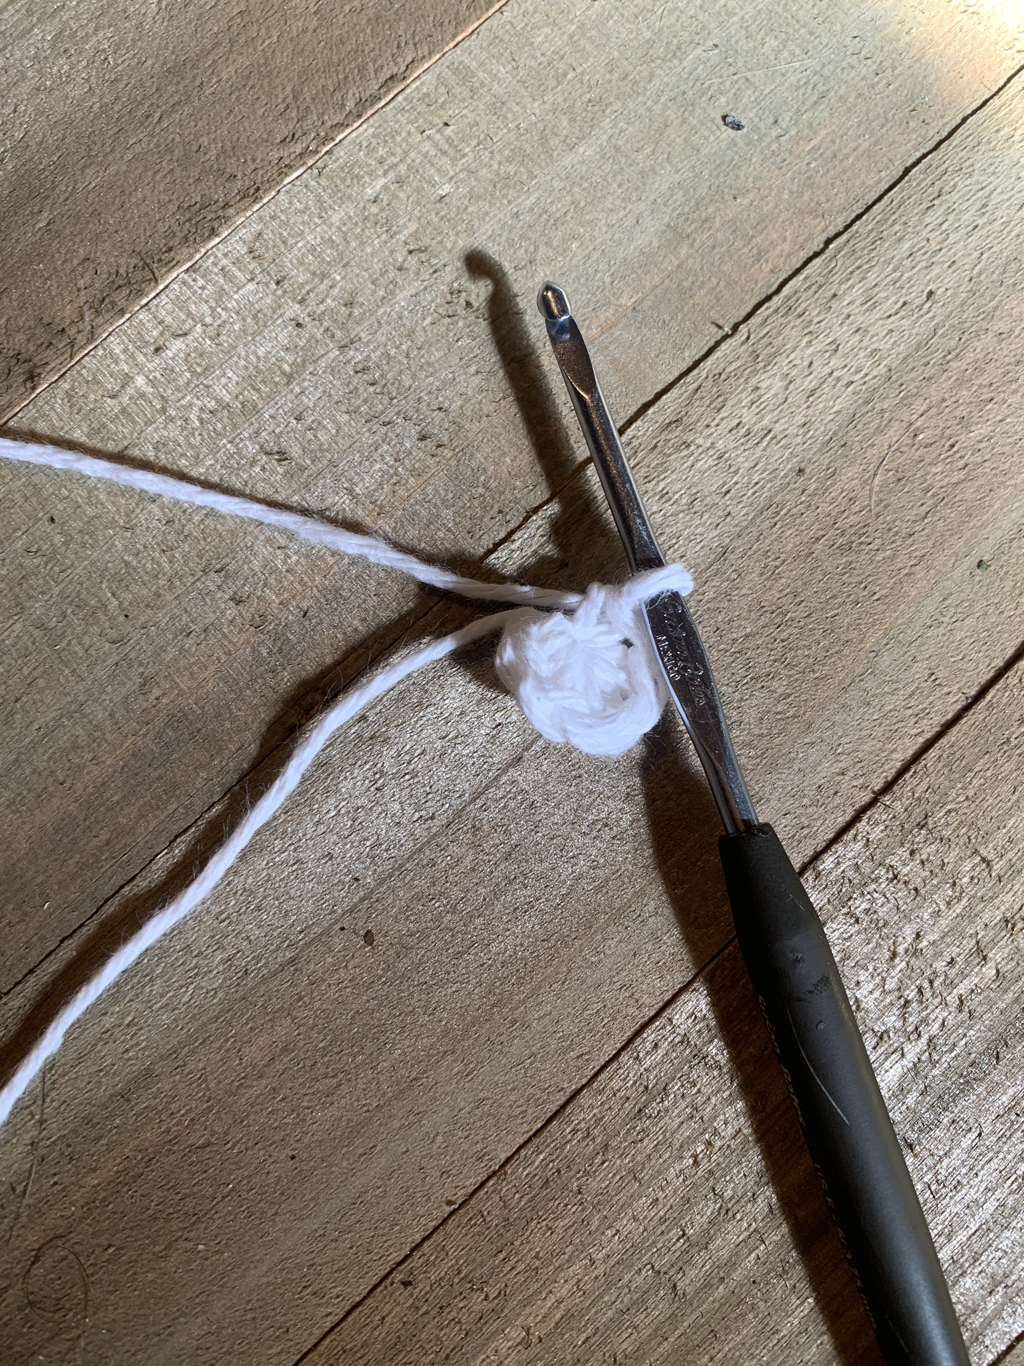
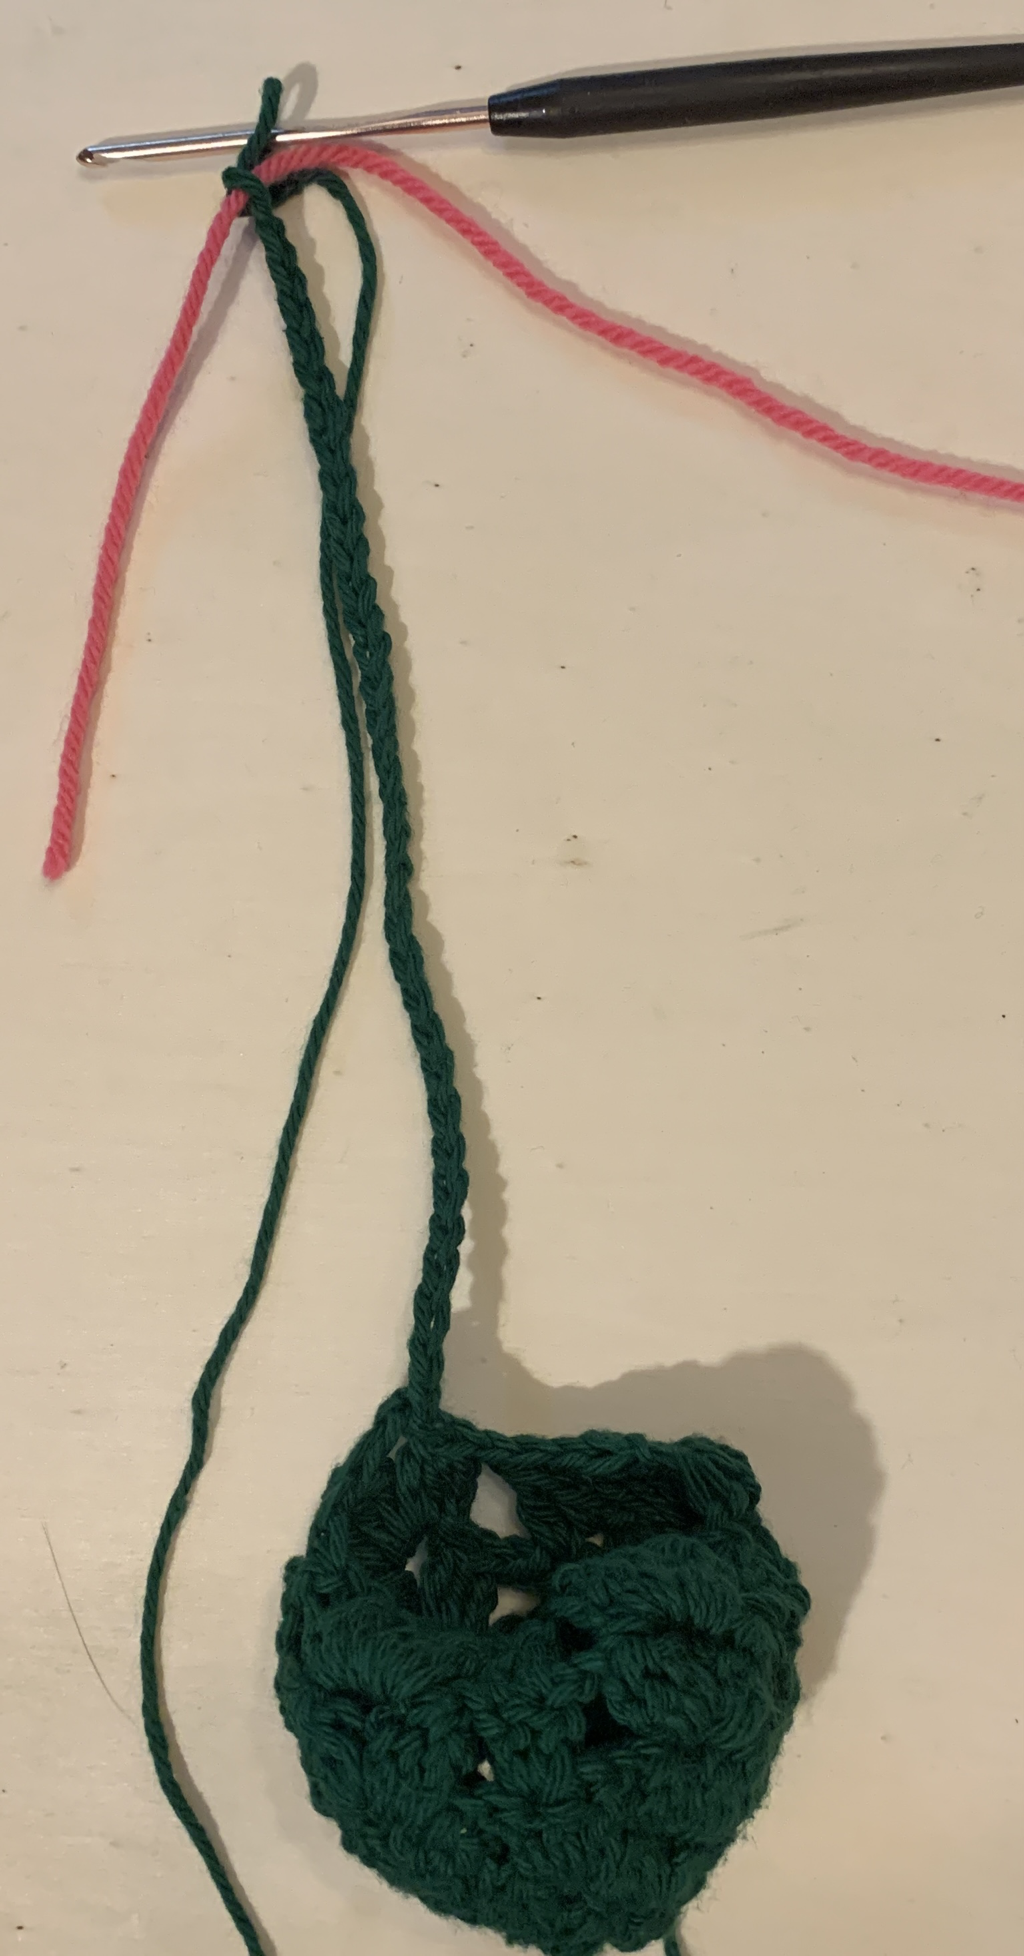
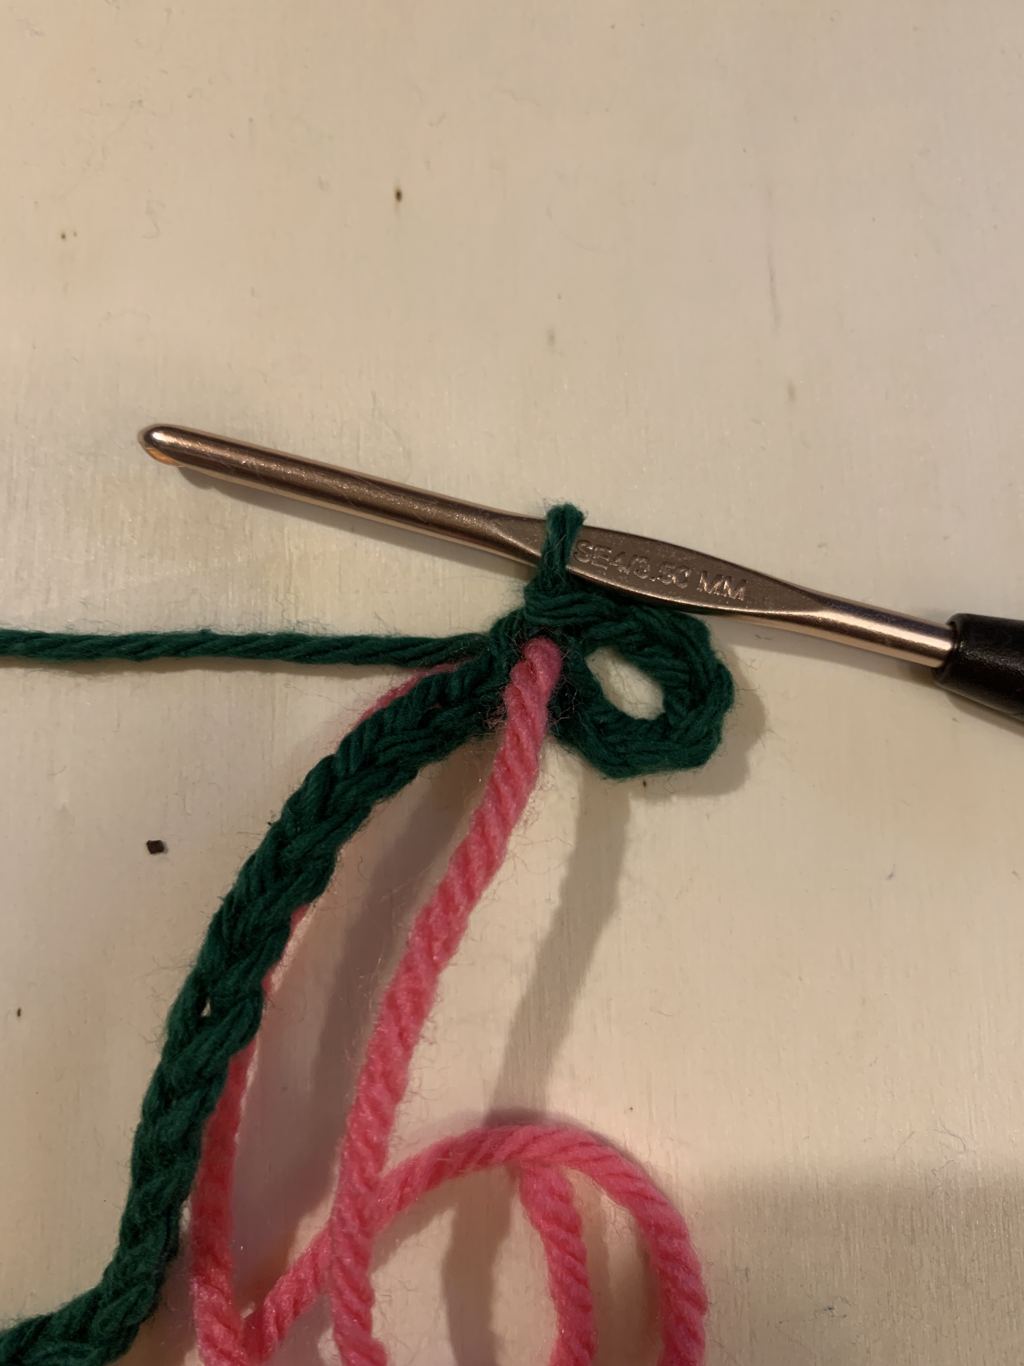
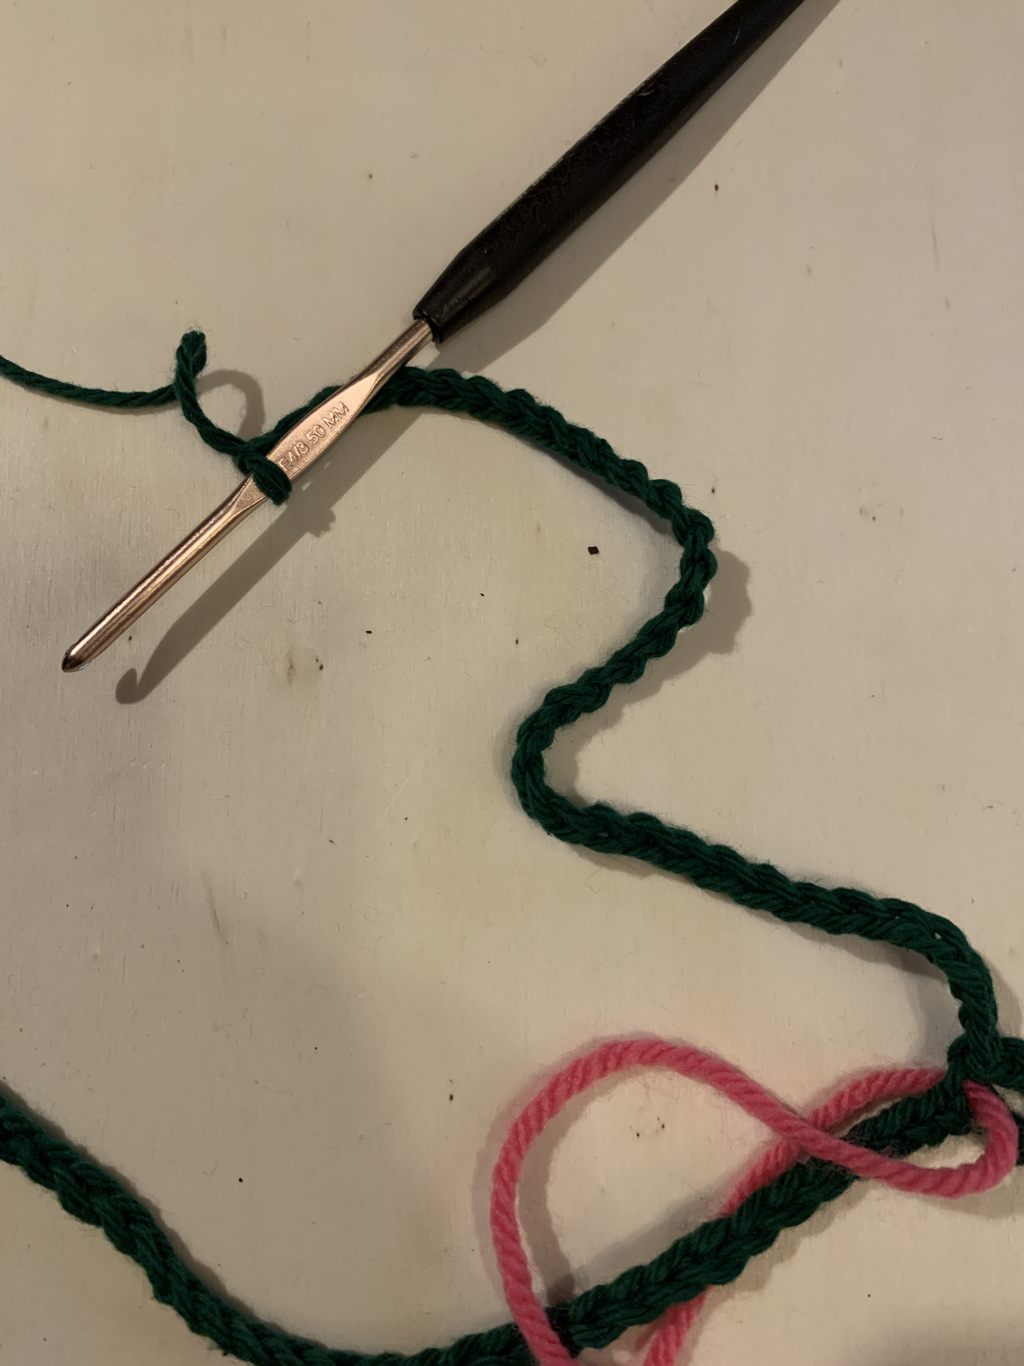
1. 5 sc in a magic circle OR chain 5, ss to the first chain to form a a loop, chain 1, 5 sc in the loop.
Here is a video of how to make a magic circle.
Here is a video of how to make a magic circle.
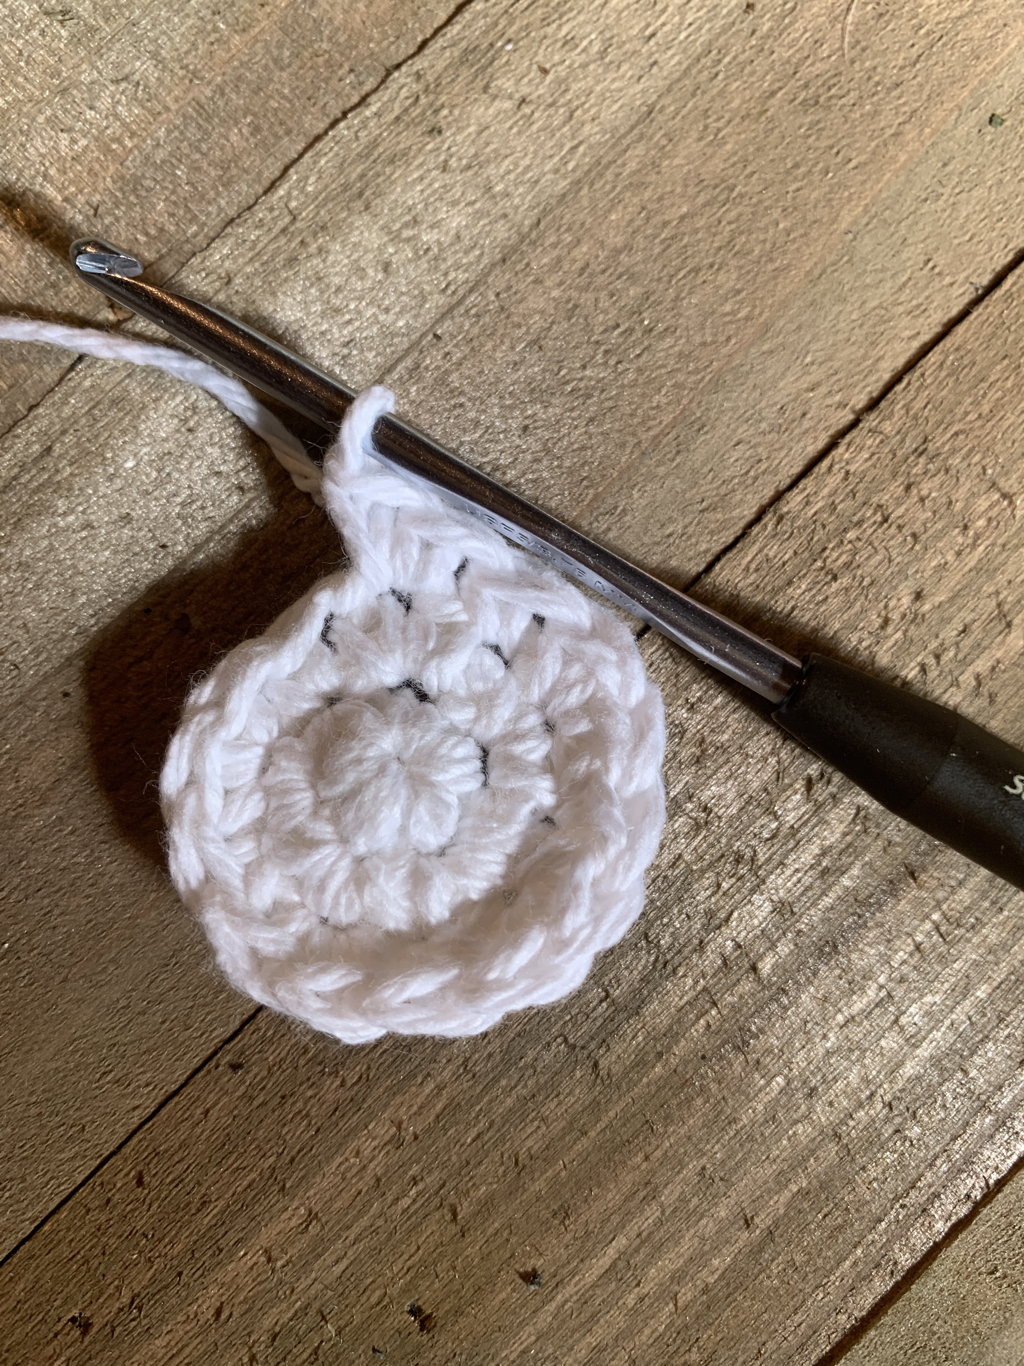
2. Sc inc in each stitch (10 sc)
3. Repeat the following 5 times— Sc, sc inc in the next. (15 sc)

4. Repeat the following 5 times— Sc in the next 2, sc inc in the next. (20 sc)
Closing your leg
Remove your hook and insert it into the last single crochet from round 4.
Pick up the loop and pull through.
Fold in half
Chain 1, go back into the last sc from round 4 and through the first sc from round 4. Single crochet.
Single crochet all the way across (10 sc total). Chain 1, cut your yarn and pull through.
Pick up the loop and pull through.
Fold in half
Chain 1, go back into the last sc from round 4 and through the first sc from round 4. Single crochet.
Single crochet all the way across (10 sc total). Chain 1, cut your yarn and pull through.
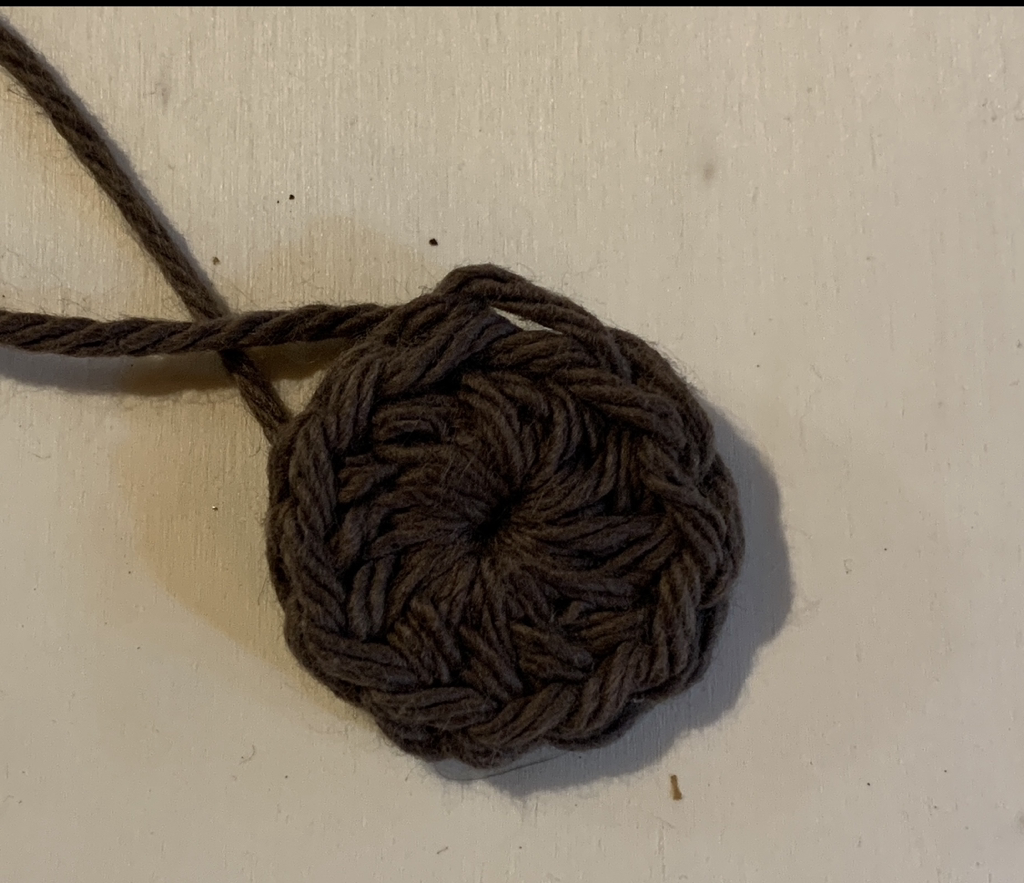
Tail
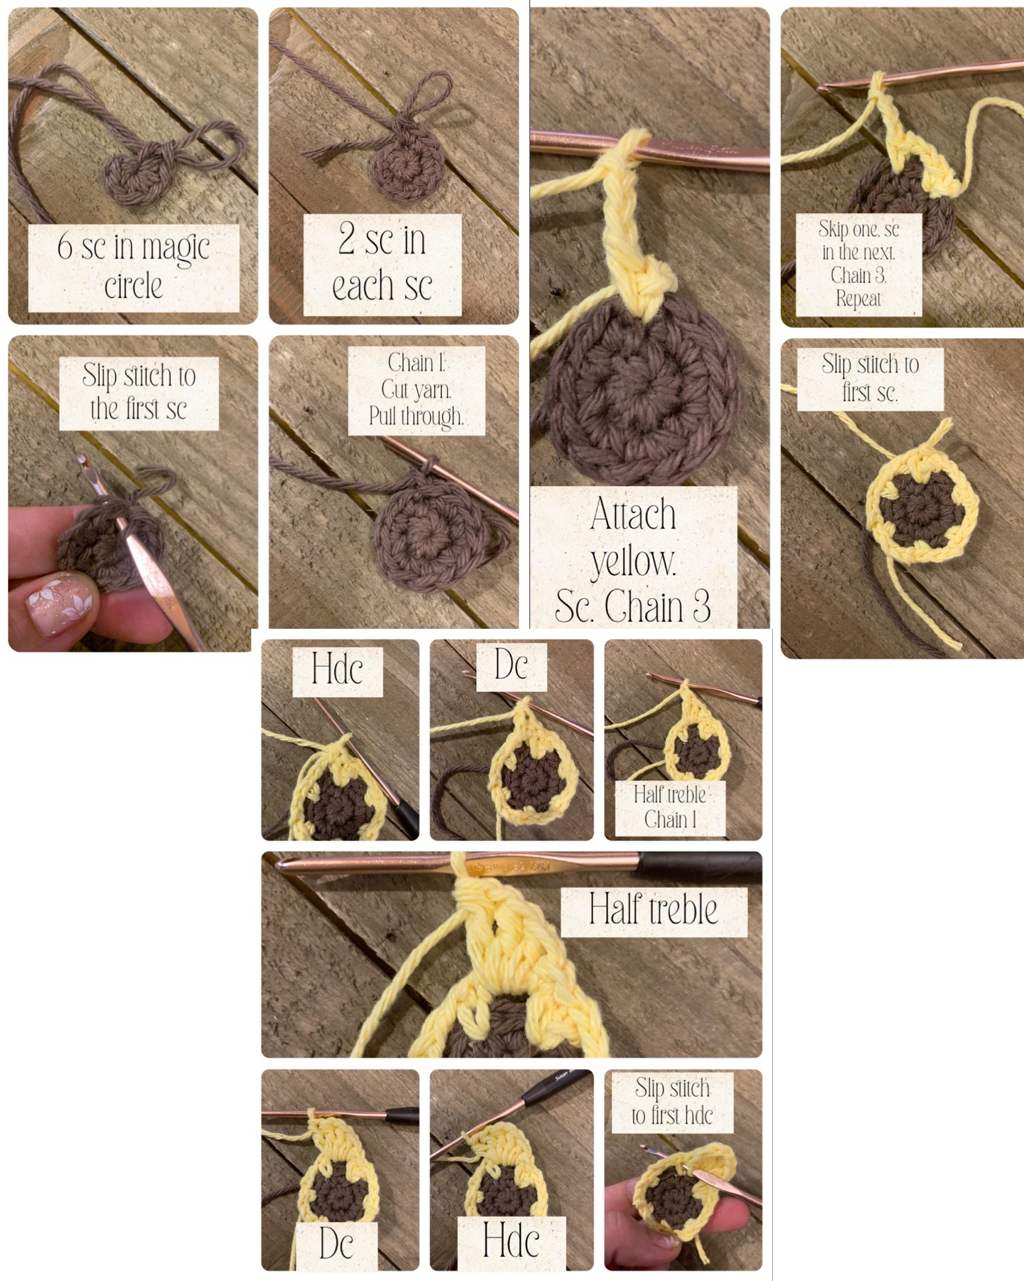
1. 6 sc in a magic circle OR chain 5, ss to the first chain to form a a loop, chain 1, 6 sc in the loop.
2. 2 sc in each stitch (12 sc)
Close the tail as we did the legs.
2. 2 sc in each stitch (12 sc)
Close the tail as we did the legs.
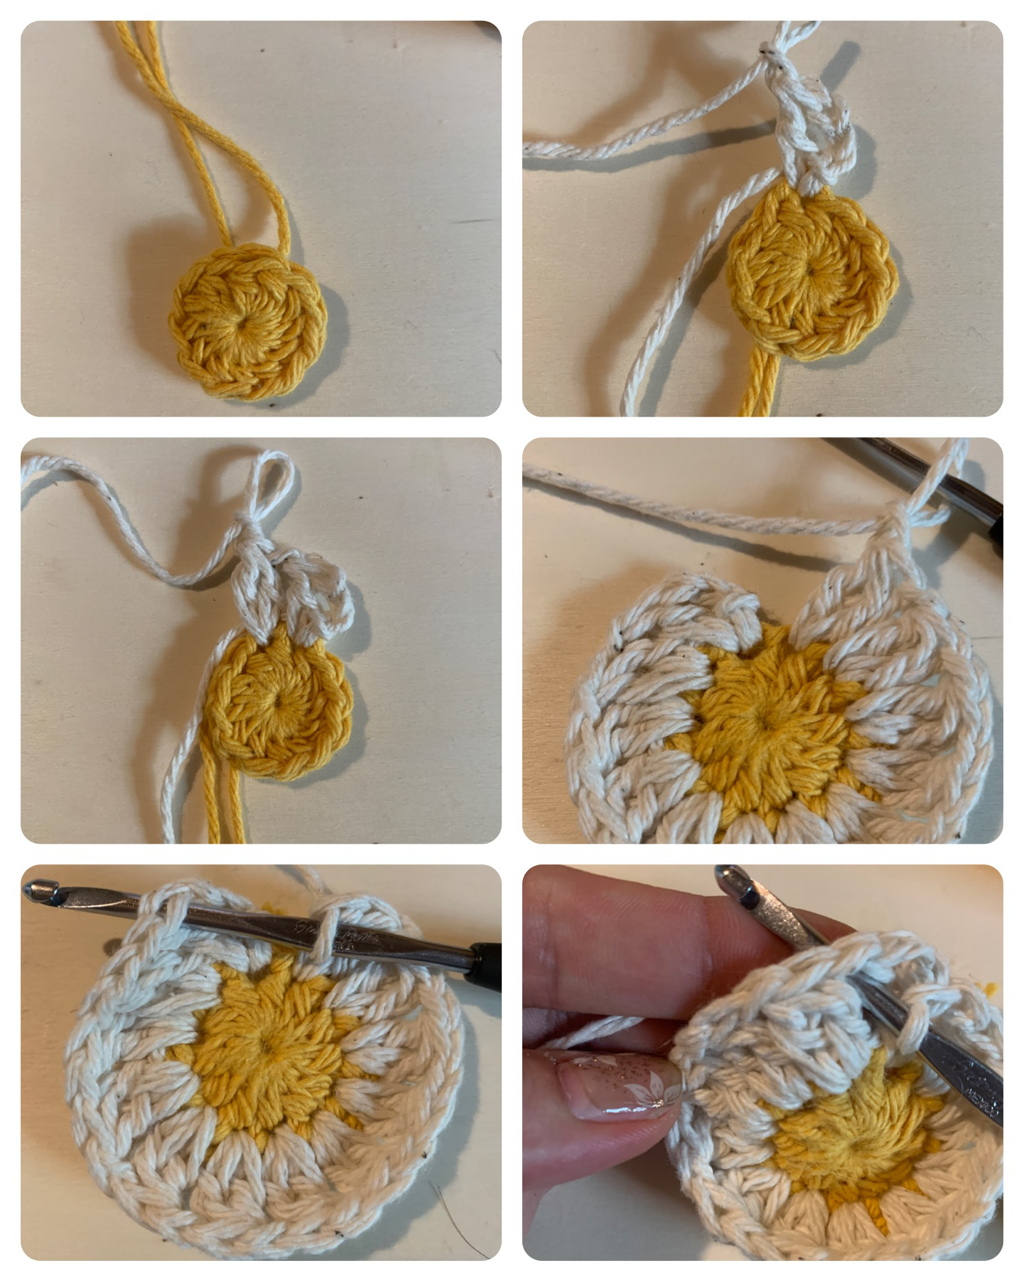
Head
1. With your 3.75 mm hook-5 sc in a magic circle OR chain 5, ss to the first chain to form a a loop, chain 1, 5 sc in the loop.
2. Sc inc in each stitch (10 sc)

3. Repeat the following 5 times— Sc, sc inc in the next. (15 sc)
4. Repeat the following 5 times— Sc in the next 2, sc inc in the next. (20 sc)
5. Single crochet in each stitch (20 sc)
6. Single crochet in each stitch (20 sc)
6. Single crochet in each stitch (20 sc)
Attach your eyes between rounds 4 and 5
7. Repeat the following 5 times— sc in the next 2, single crochet invisible decrease (15 sc). Start stuffing after this round.
Here is a quick 60 second video on an invisible decrease
Here is a quick 60 second video on an invisible decrease
8. Repeat the following 5 times— sc in the next stitch, single crochet invisible decrease (10 sc)
9. Sc in each stitch (10 sc)
10. Sc decrease 5 times (5 sc)
Cut off yarn and close up the hole.

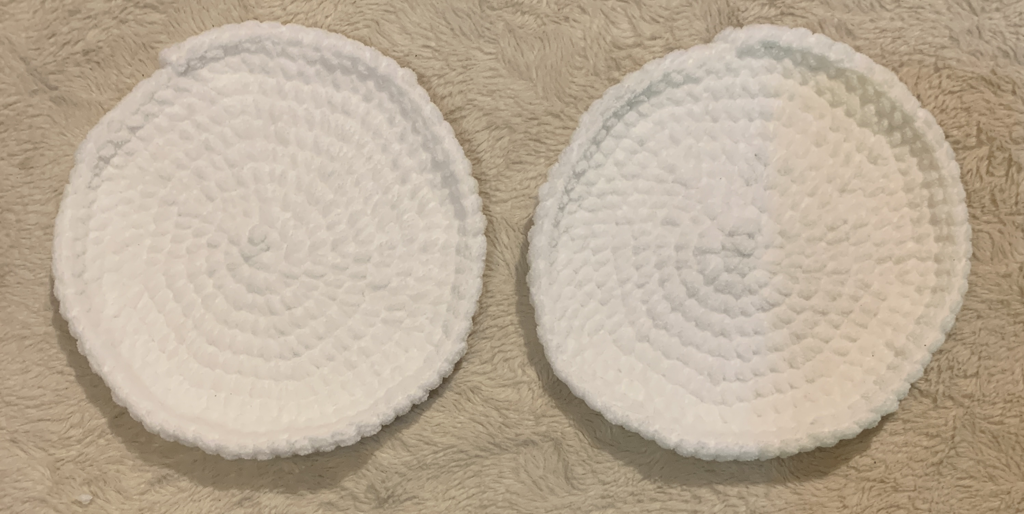
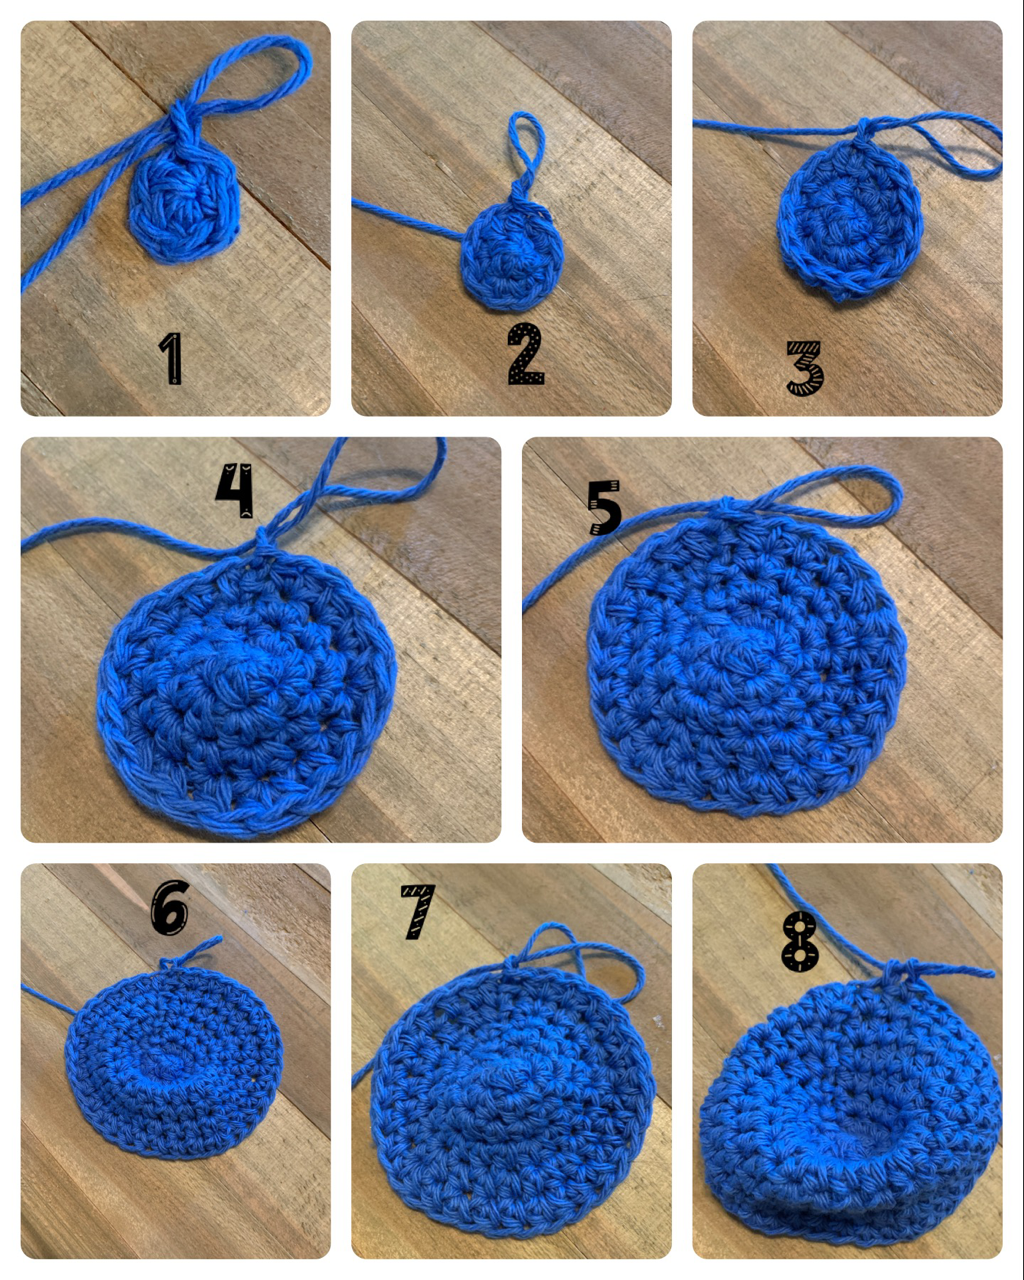
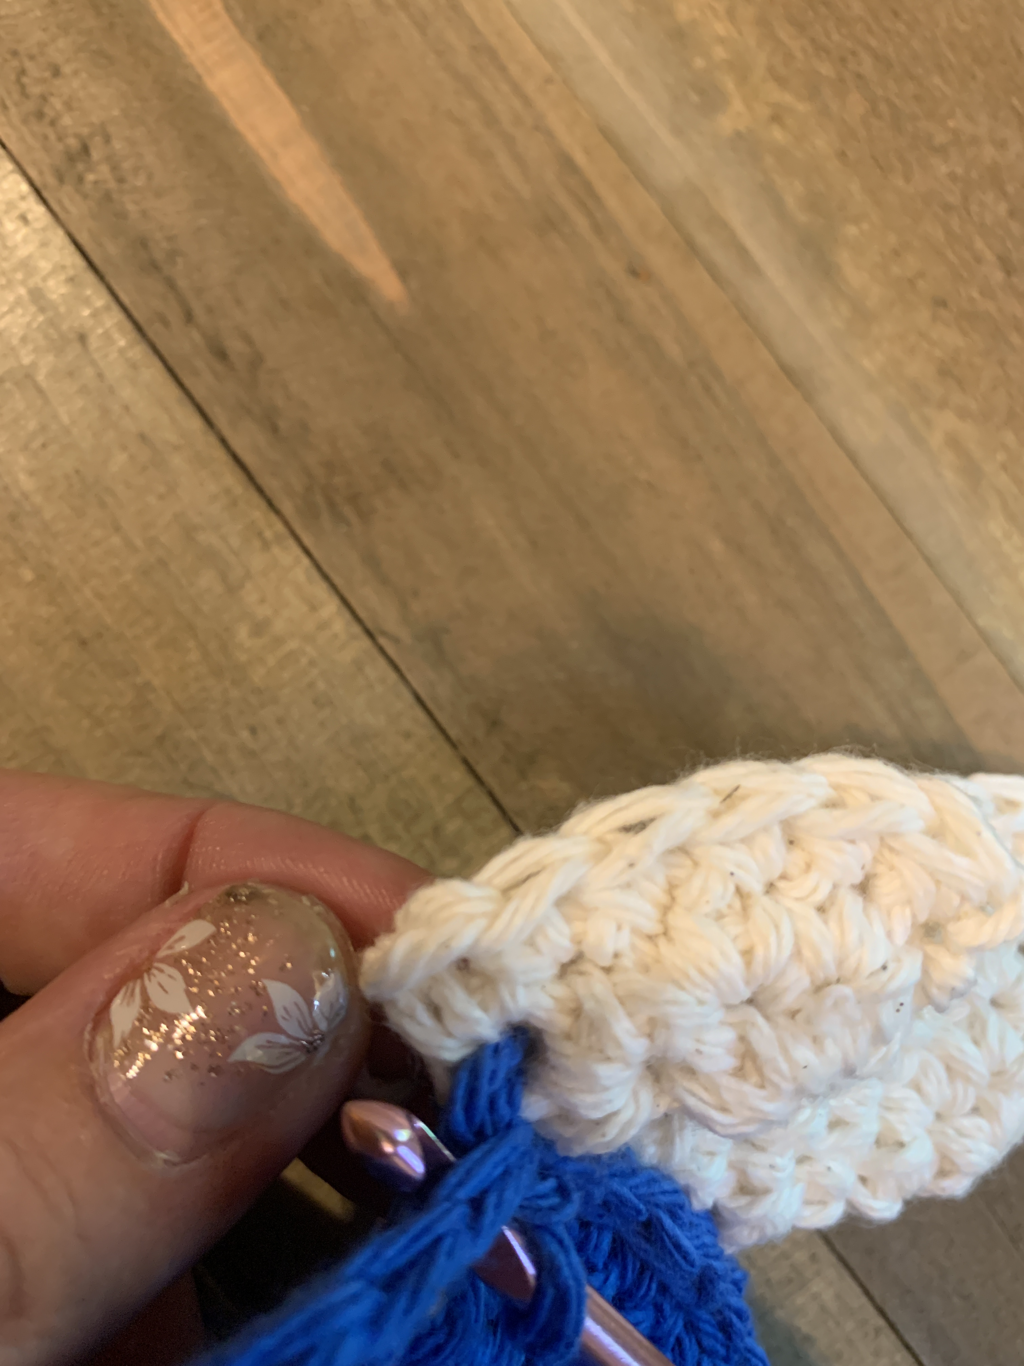
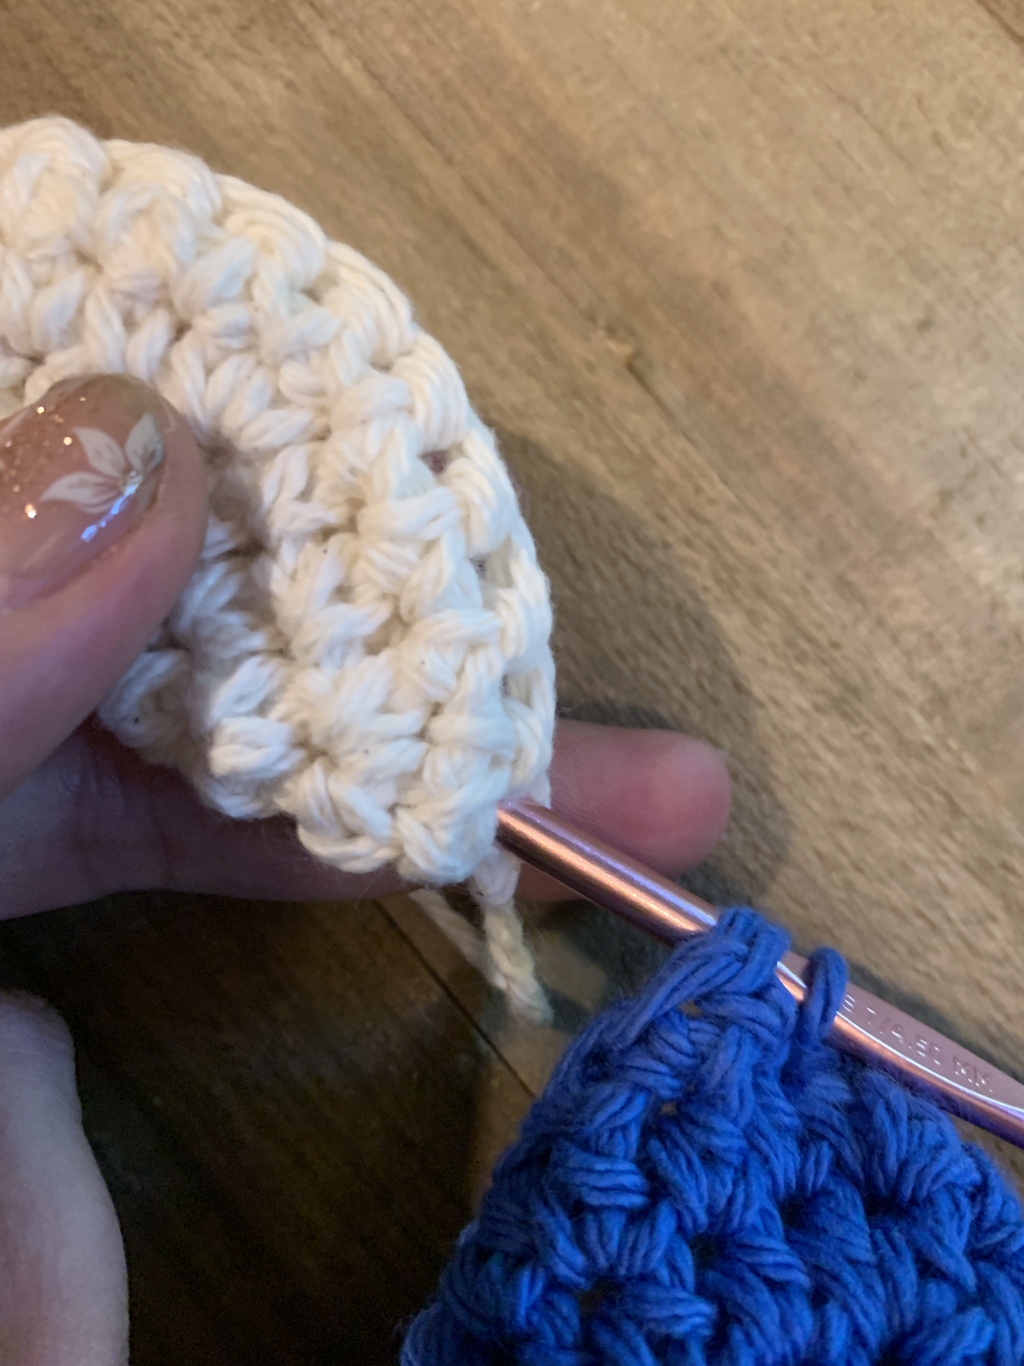
Body
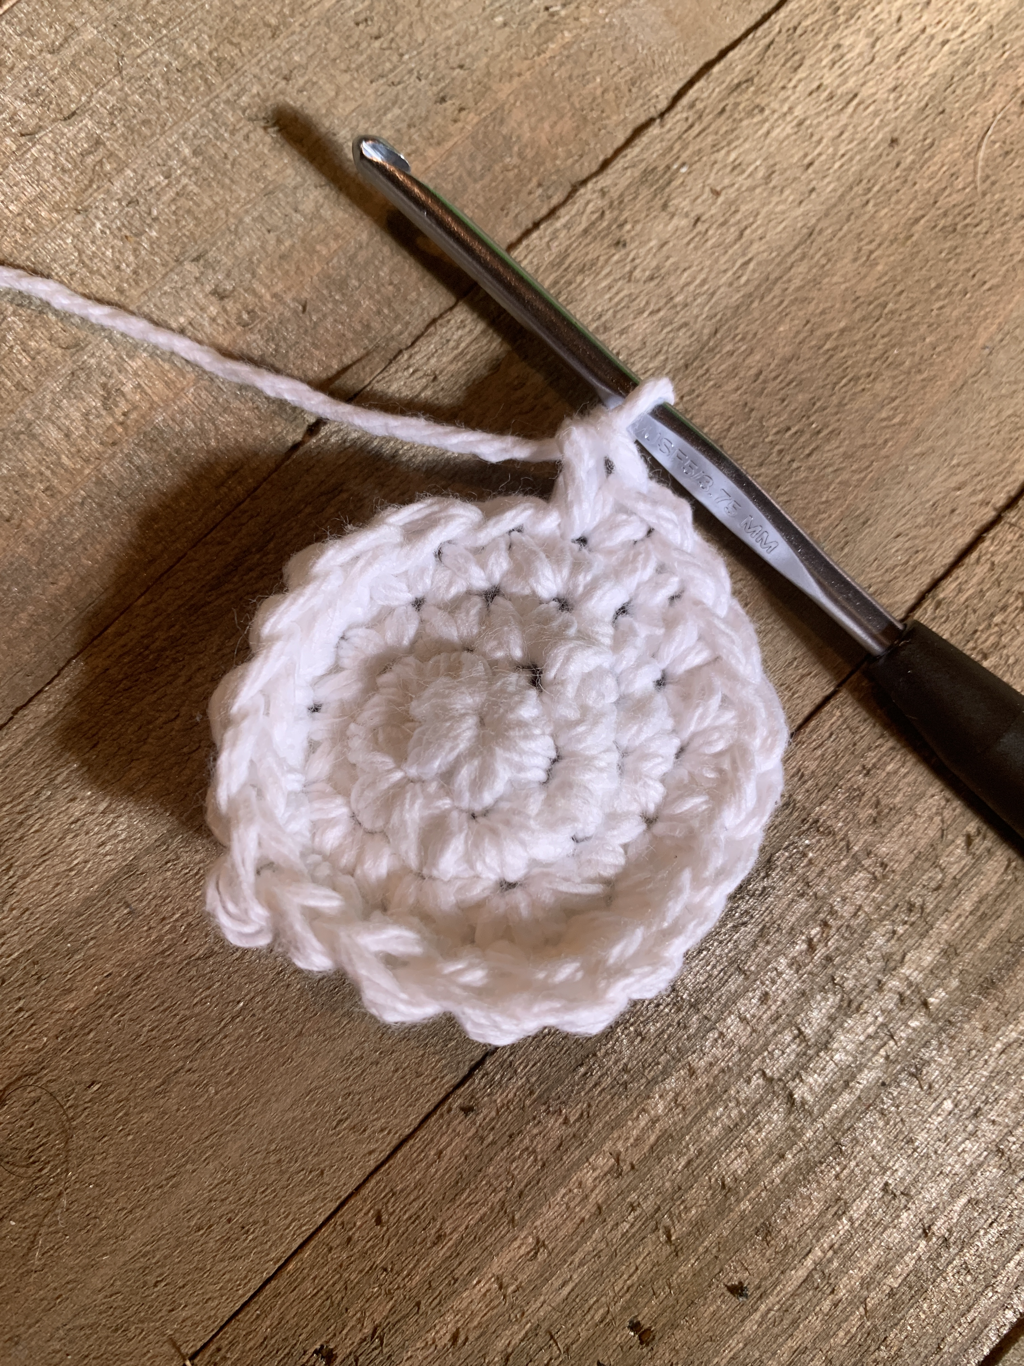
1. With your 4.50 mm hook--5 half double in a magic circle OR chain 5, ss to the first chain to form a a loop, chain 1, 5 hdc in the loop.
Slip stitch to the first hdc.
Slip stitch to the first hdc.
2. Chain 1, 2 hdc in each stitch. Slip stitch to the first hdc (10 hdc)
3. Repeat the following 5 times—Hdc in the next stitch, hdc increase in the next. Slip stitch to the first hdc. Chain 1. (15 hdc)
4. Repeat the following 5 times—Hdc in the next 2, hdc increase in the next. Slip stitch to the first hdc. Chain 1. (20 hdc)
5. Repeat the following 5 times— Hdc in the next 3, hdc increase in the next. Slip stitch to the first hdc. Chain 1. (25 hdc)
It may start curling up and that’s okay! :)
It may start curling up and that’s okay! :)
6. Repeat the following 5 times— Hdc in the next 4, hdc increase in the next. Slip stitch to the first hdc. Chain 1. (30 hdc)
7. Repeat the following 5 times— Hdc in the next 5, hdc increase in the next. Slip stitch to the first hdc. Chain 1. (35 hdc)
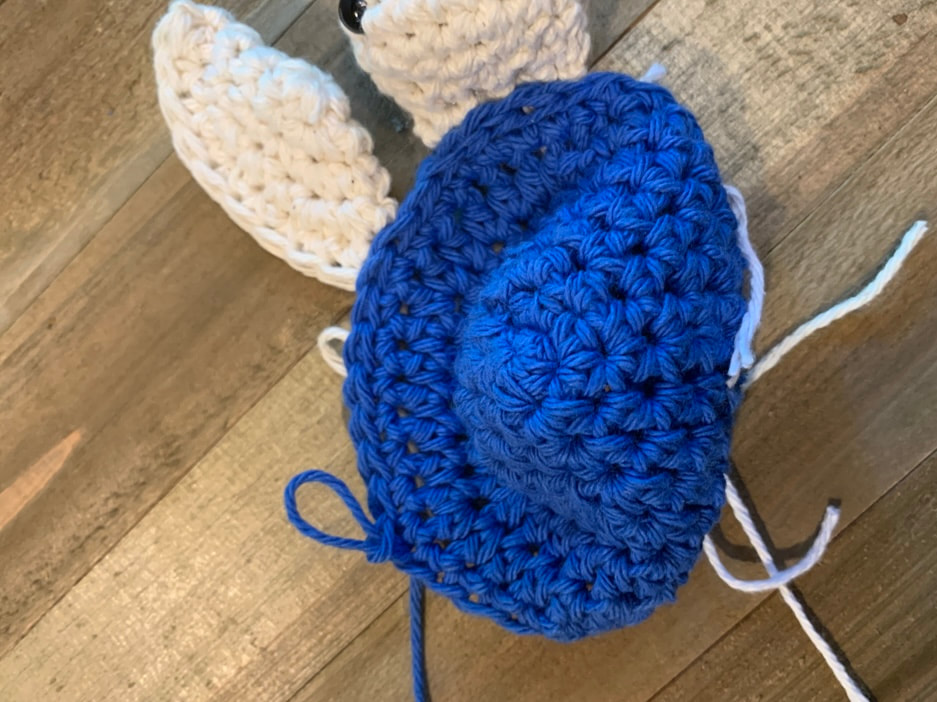
9. Single crochet in each stitch. Do NOT join. We will be attaching the legs and head.
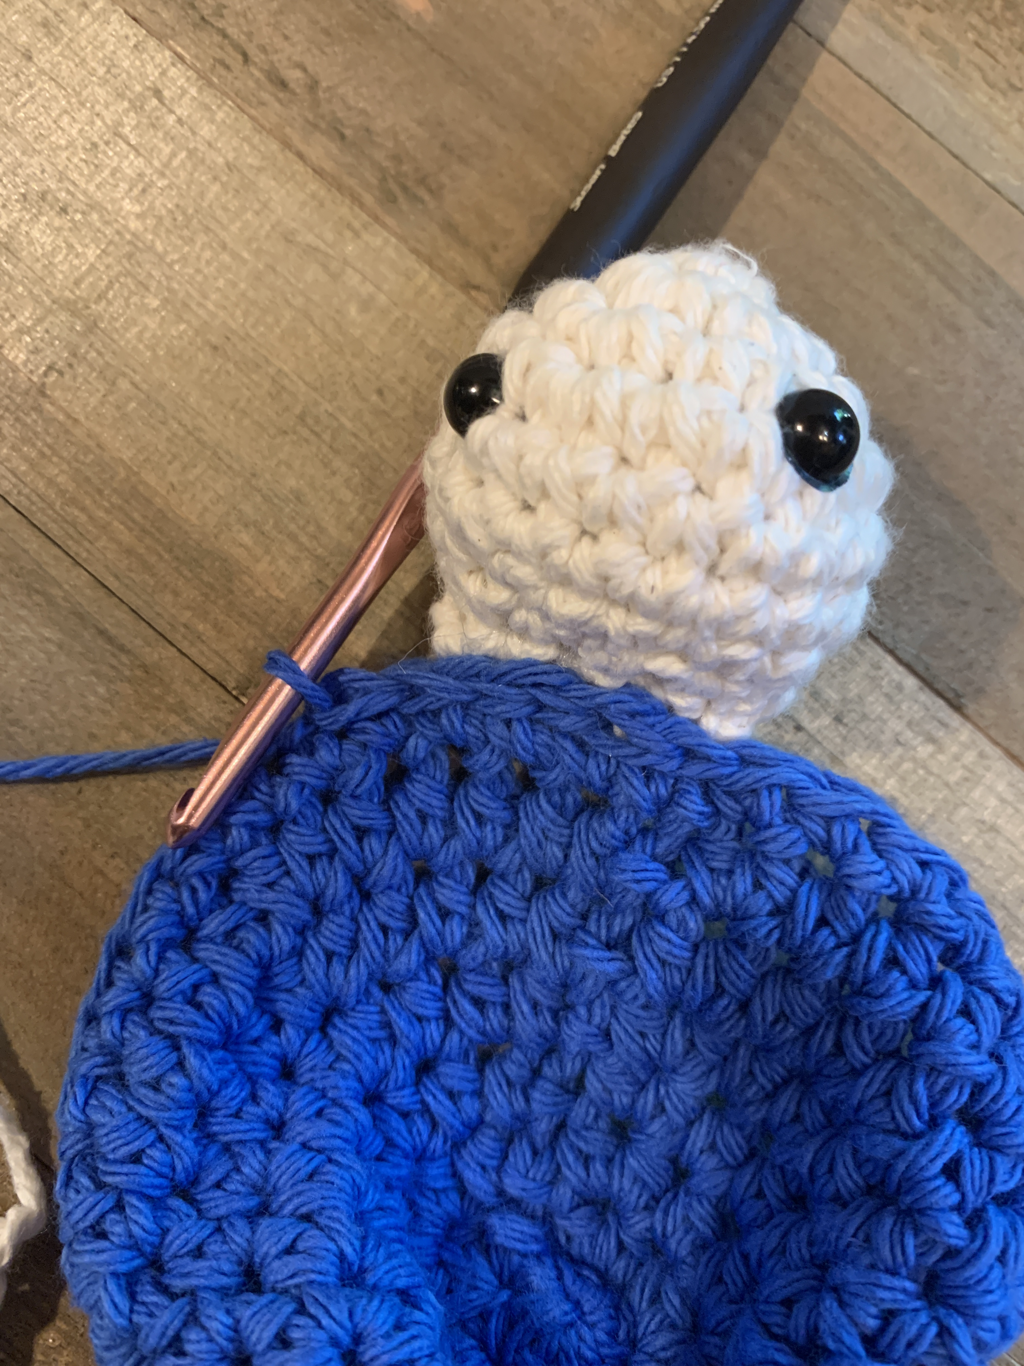
Assembly
Insert hook into the first single crochet from round 9 and slip stitch the head in the first 4 stitches.
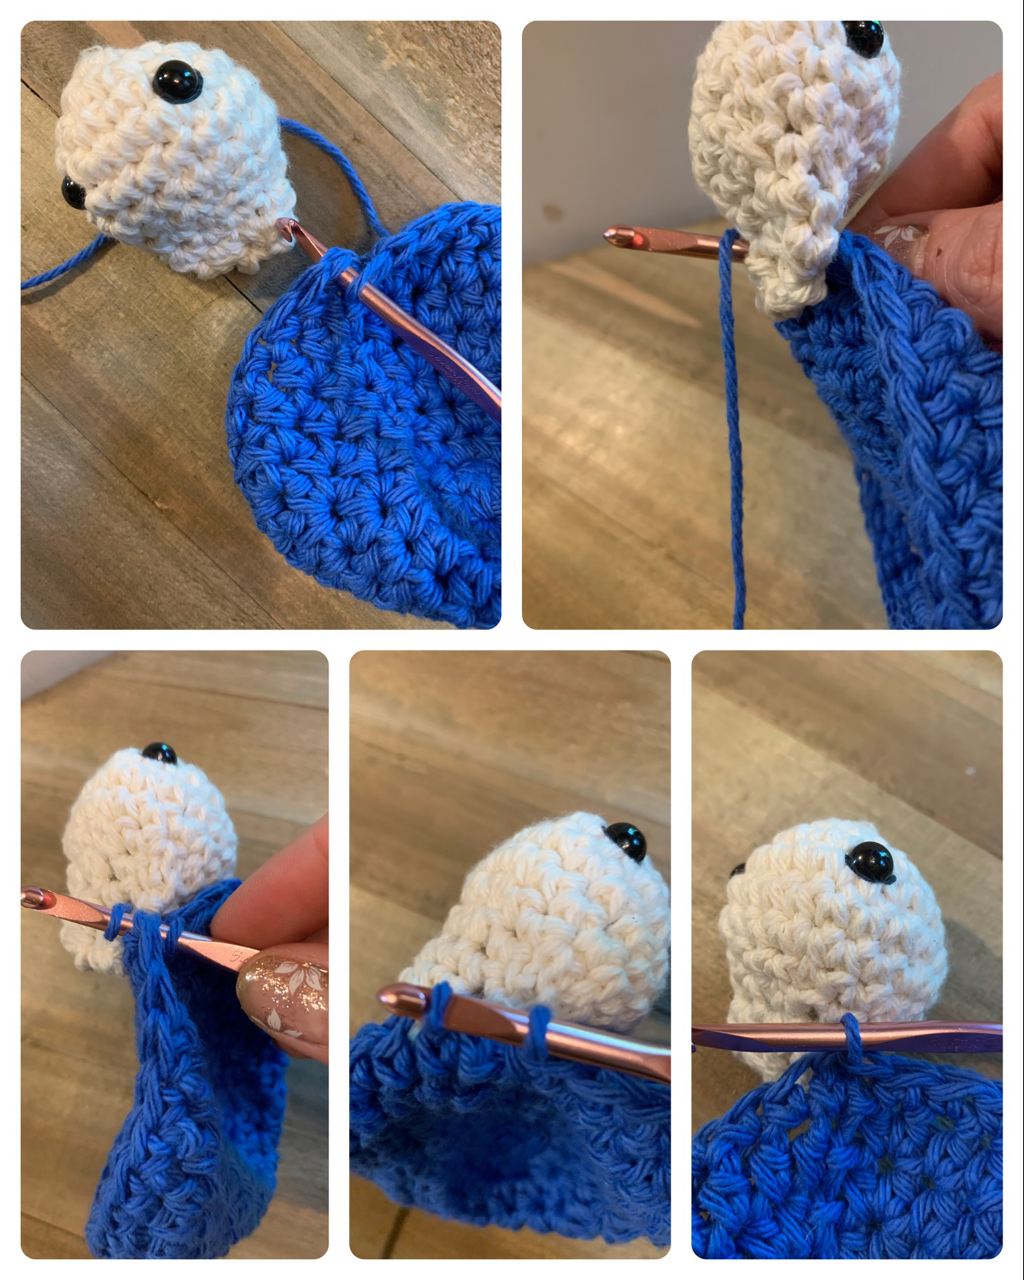
Slip stitch in the next 2
Attach the first leg with a slip stitch at the base of the last single crochet. Slip stitch in the next stitch of the body and the last single crochet of the same leg. I didn’t sew in my ends to help me keep track of the sc we need to slip stitch to.
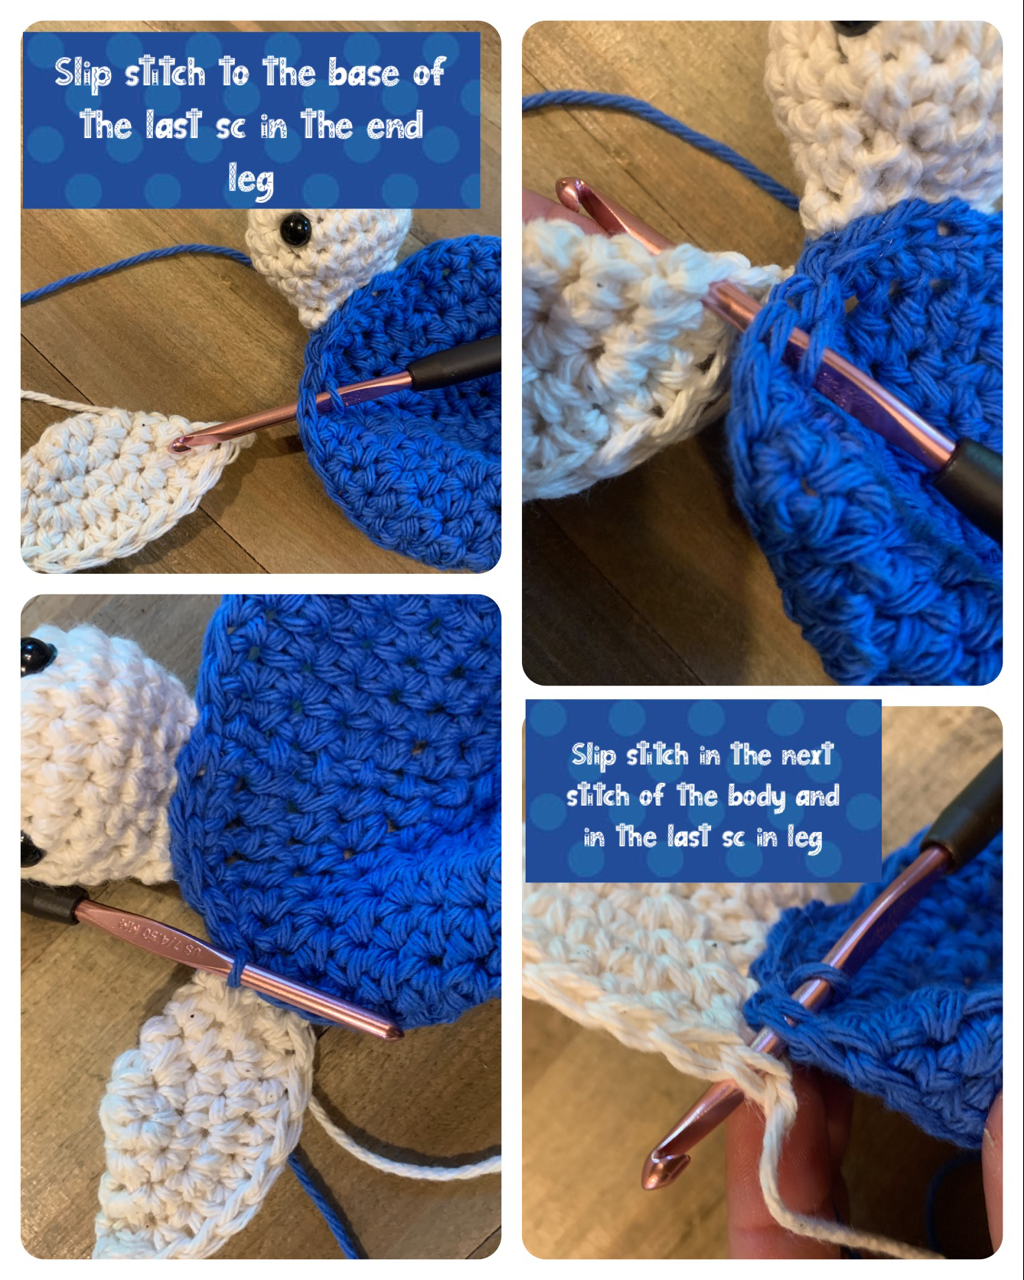
Slip stitch in the next 7 stitches of the body and following the same steps you did for the first leg. (2 slip stitches done).
Attach the tail with a slip stitch to the base of the last single crochet. Go back into the same stitch and slip stitch in the last single crochet of the tail.

Slip stitch in the next 2 and attach the 3rd leg. Only instead of slip stitching to the base of the sc first we will be slip stitching to the last single crochet and then the vase. (Reverse of what we did on the first 2 legs).
Slip stitch in the next 7 and attach the last leg as you did the 3rd leg. Slip stitch in the last 2 stitches. Cut your yarn and sew in your ends.
